Earlier, I had mentioned that I signed up for a free colored pencil class at the local library with someone who can make pencil drawings look like photographs. The class got delayed a week due to a big dump of snow (10″ that day) so tonight was Class 1. There are only 8 students so its pretty great with the teacher-student interaction.
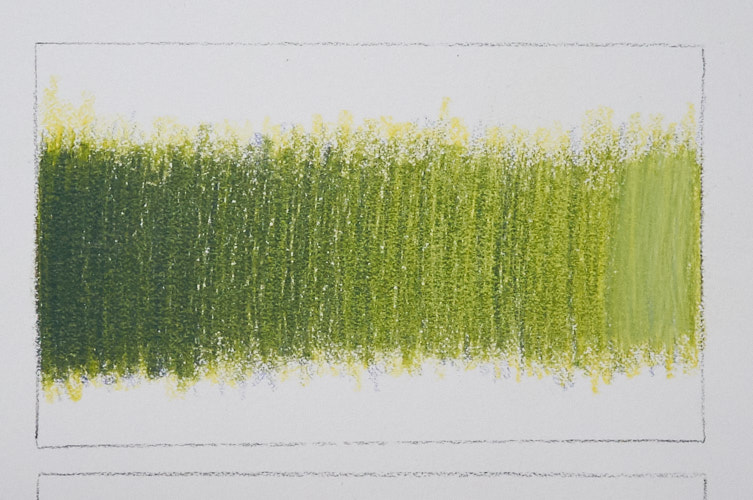
We learned about blending. I always thought blending was what you do between two colors. Not in today’s example! Proper color pencil technique is all about building layers. We began with boxes. First an even layer of yellow, covered by an even layer of blue. Then, yellow again but with changing pressure from hard to light. Same with the blue. We could keep going back and forth to blend it nicely, or use other blending techniques if we had them available. For instance, you could use a white pencil, but I had a colorless blending pencil. I only had that because I bought a blending kit. I had never heard of one before but its pretty nifty! On the far side, I did experiment with white as a blending tool for comparison, which is why that section looks different.
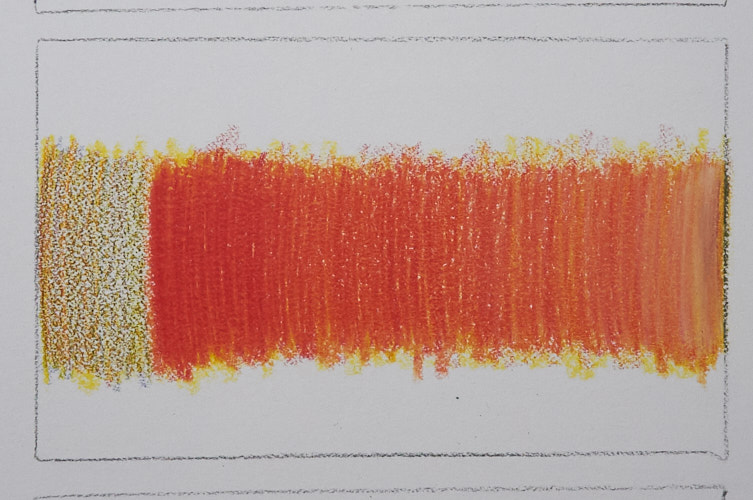
After making green, we made orange the same way. First yellow, then red. I was helping a kid next to me understand what was meant by changing pressure so distractedly I picked up my blue pencil when I started. Oops. Ignore the left! And then again, I put white on the righthand side. Which taught me to clean off the lead, as it still had some other colors mixed on it that smeared into my orange. Grr.
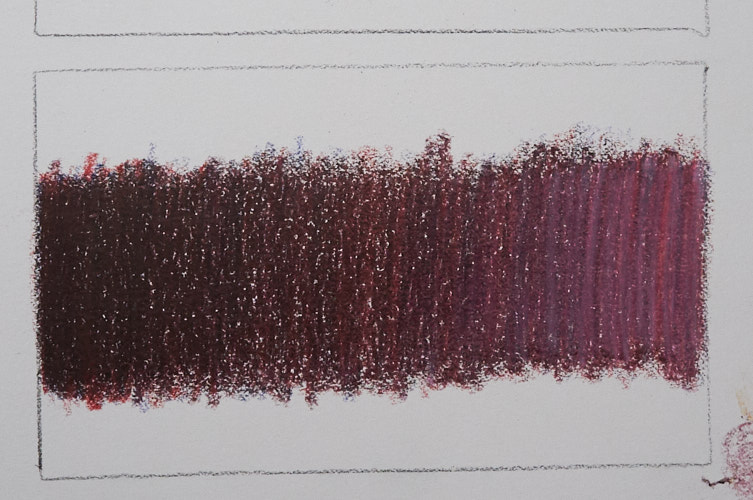
And then purple, with red followed by blue. This was the most difficult for me, and I think partly because my color set did not include a true red nor a true blue. White was also added on the right.
After that exercise, we drew an apple and used yellow and blue to make a green variety. I spent a lot of time working on blending the colors. I got a bit streaky with my blue. That is what I need to work on before next class. I got done a little early so I tossed on a stem and leaf.
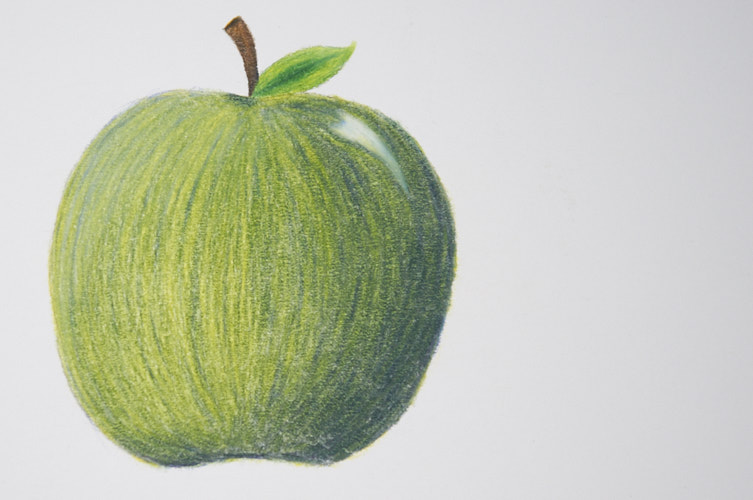
While my blocks looked spotty, I worked a long time blending the apple to try to get those white dots outta there. It did nothing, though, for those pesky streaks! I also think I should have carried the stem down a little further since I added a little darkened spot up top. Lessons are being learned, I love it!
Next week will teach us different styles of filling, like hashing. After we learn some basic techniques, the rest of the course will be learning how to make an image from start to finish, learning crucial things along the way.
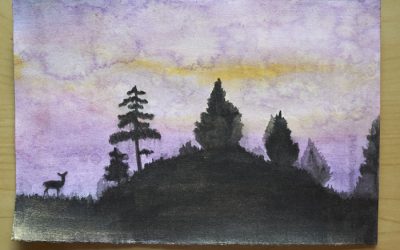
I’m excited – this is going so much better than stupid water color paints!



wow, that apple is amazing! Sounds like a really interesting class
Thanks, Wendy! I never would have tried making an apple with yellow and blue, so I have to say this class is going to be pretty cool!