This project has been floating around my house for quite some time. Frankly, the idea of sewing leather was scary to me, so I hemmed and hawed a lot, but eventually I got through it! I had a swath of green leather from years ago, waiting for an interesting project so when my friend asked to make a book cover for her to keep records of her weaving endeavors, I decided now was the time.
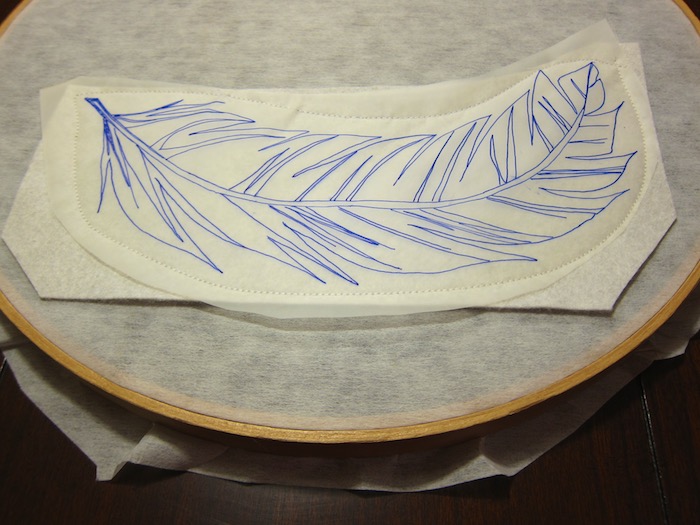
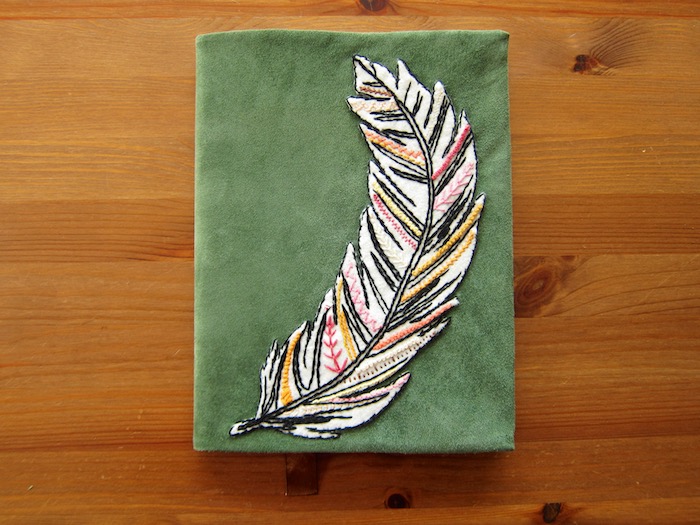
I had the feather inspiration from Maureen Cracknell Handmade, and used hers as an outline. My version is intentionally not as delicate as hers with the idea that the chunky-ness would work well with the leather. Now that it is done, I am not so sure, but I would rather not copy someone else’s work exactly anyway.
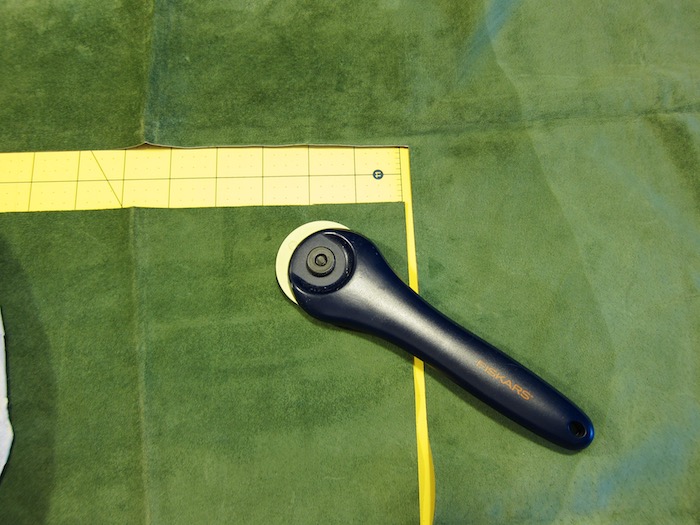
My first hang up was cutting the leather itself. See, as I mentioned, this was stored in my closet for years, so it wound up with some creases and wrinkles. Can you iron leather? I am not sure – the internet says yes and no, so I tried a few methods on some scrappy edges and just couldn’t tell if it was working or not. Another problem is the nature of the leather itself – there are parts of it that just do not lay flat because that was not how the leather grew… I did have enough of it where I could cut a fairly flat piece out, so that is what I did (it was not the way I would cut if I was trying to get the most out of my yardage, if you know what I mean!). I will say it cut like butter, though:)
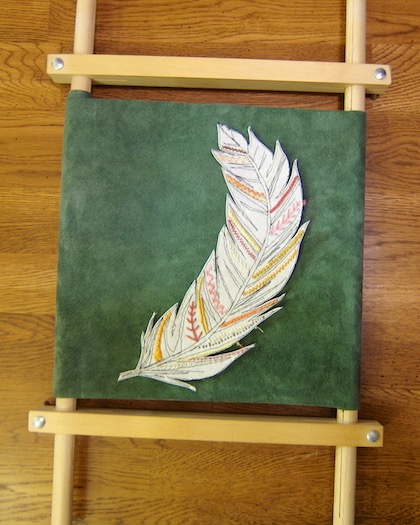
I used my rectangle hoop to stitch the feather onto the leather after I had embroidered it. I delayed here for a long while also because I was not sure how I wanted to do the outline. I tried a few methods on a scrap piece, and settled on using an outline stitch that I had just properly learned for the Zelda crest mug rug I recently made. I did vary between six and three strands, but you can’t really tell. I am still learning embroidery, you know. Plus, I could not find a hand-sewing leather needle that was straight. Mine was not only gently curved at the tip (a feature I actually fell in love with and will search for embroidery needles of like kind) but also had a 90 degree bend before the eye. That made the motions a bit trickier, as you can imagine.
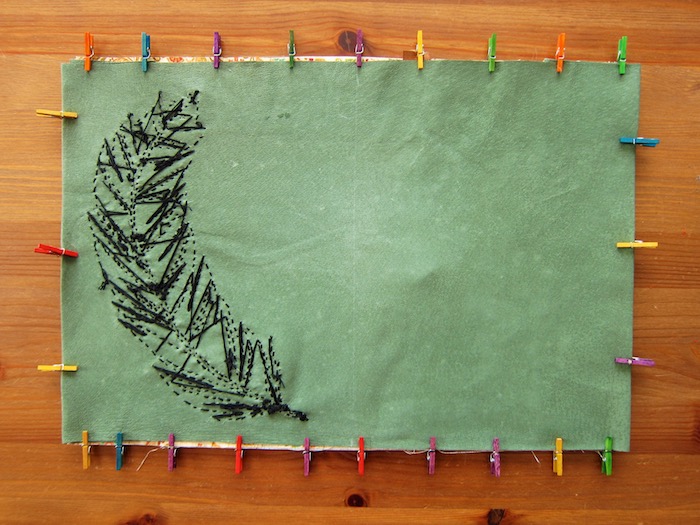
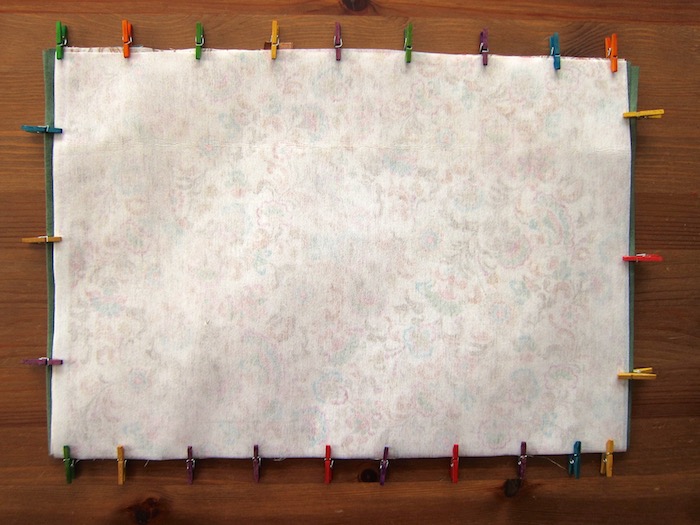
Then, I delayed even longer yet because I was not sure my machine would appreciate sewing through leather. I did buy heavy duty needles, but since they did not specifically state “for use with leather”, nor did they have a cutting shape to their point, I was concerned – but it was all I could find at the store. Lucky for me, my leather was very thin and supple, so as long as I went slowly over where the leather was folded, it sewed great! I used my little clothespins to hold the layers together. Since both the leather and fabric was thin, I used a heavy-weight stabilizer to make it feel sturdy, and a brown ribbon for the marker.
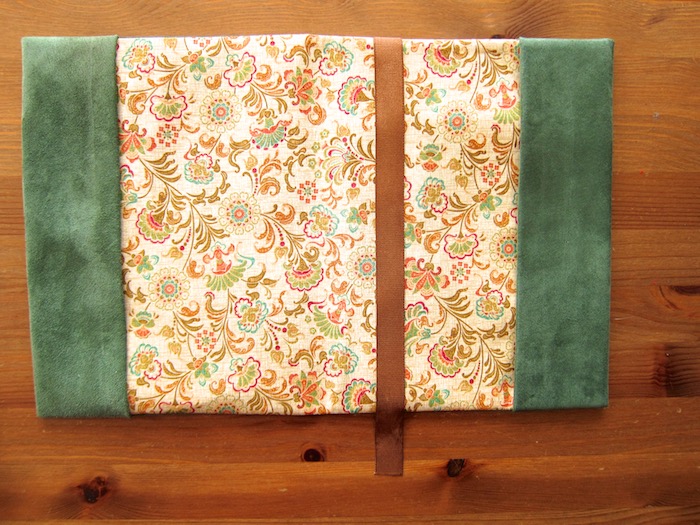
I used my quick & dirty method so I only had to sew two straight lines, adjusting for the size of the notebook obviously. I only chose this method because I didn’t want to put my machine through any more torture than necessary.
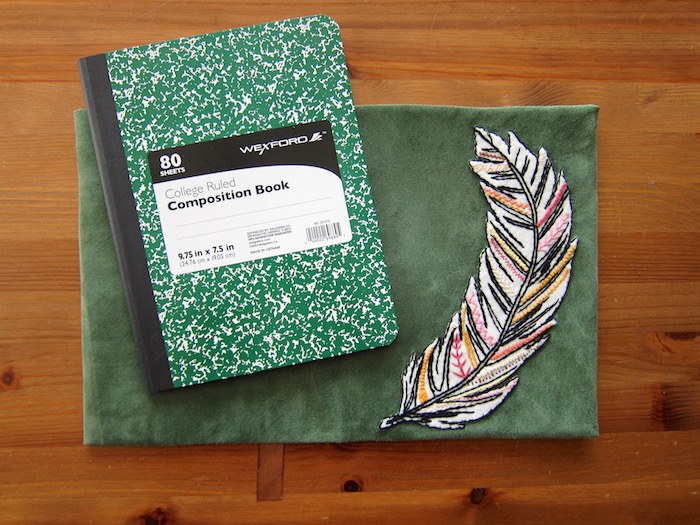
I included a standard composition book; in the event she fills one up and needs to add another, it will be easy for her to find a notebook that fits.
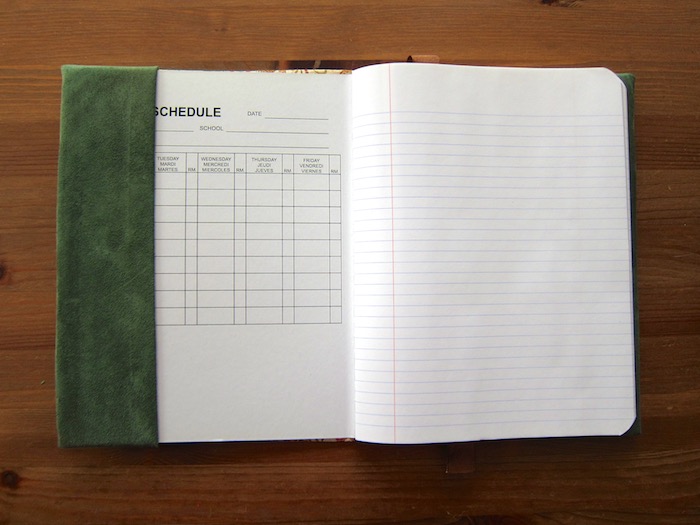
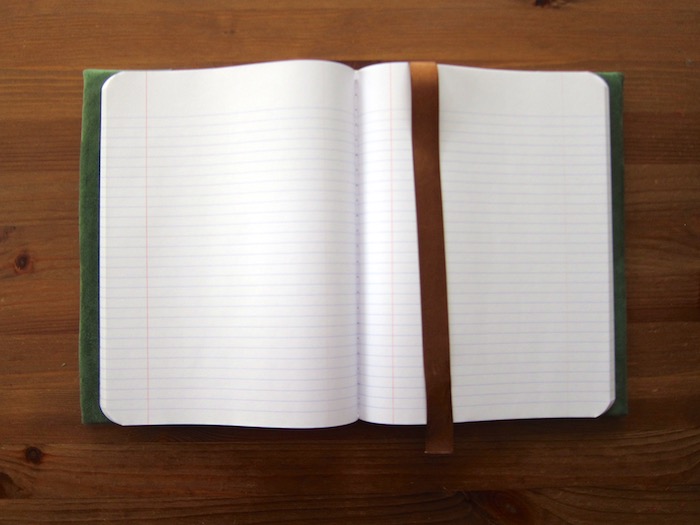
It feels really nice in your hands! The leather gives a nice grip but is so very soft!
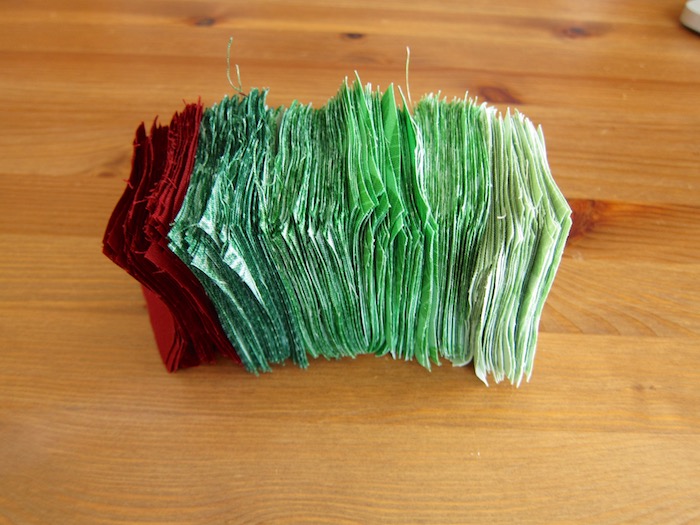
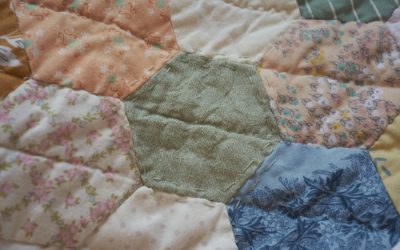
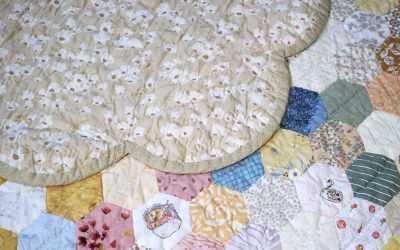
And now, I embark on another hexagon project! Yay! This was the first time I have ever cut squares in bulk – I felt like a quilter. While cutting, I asked myself if I would like to quilt yet – my family all does it so maybe I should join them. But the idea of having to cut more than this tiny stack (which felt monstrous while cutting) still has me holding off on that venture… for now.


0 Comments