So I’ll be getting a pseudo-niece, as I like to call her (I’m not married into the family quite yet). I know I want to make her a killer blanket, and I’ve been tossing around the ideas of themes and possibilities and I think it will be a floor blanket, with detachable toys. She doesn’t have to use it but I think ill have a lot of fun making it, and as a family tradition of sorts, new babies always get blankets, so I thought I would continue that.
That’s not what this post is about though.
This post is about a small simple project I made for the shower. Since I’m helping with the necessities of that, I didn’t really want to buy anything but I did want to get something cool. This seemed like a good compromise.
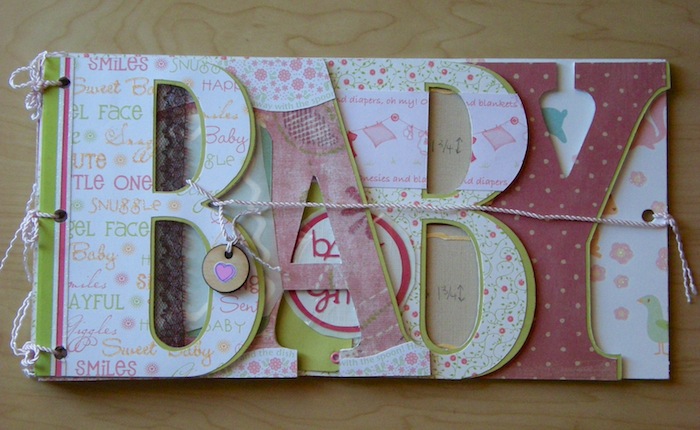
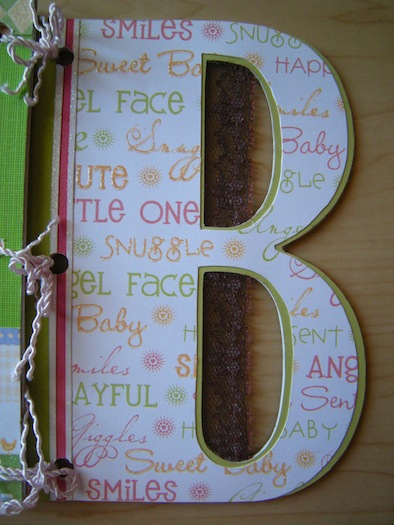
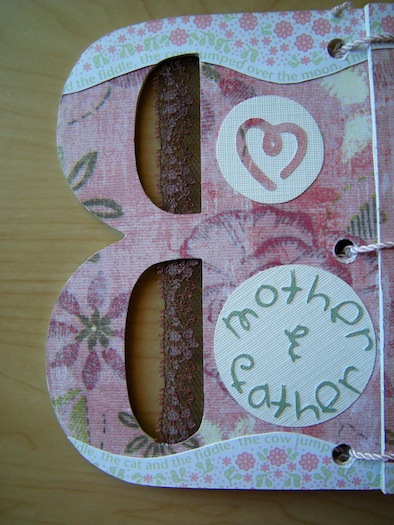
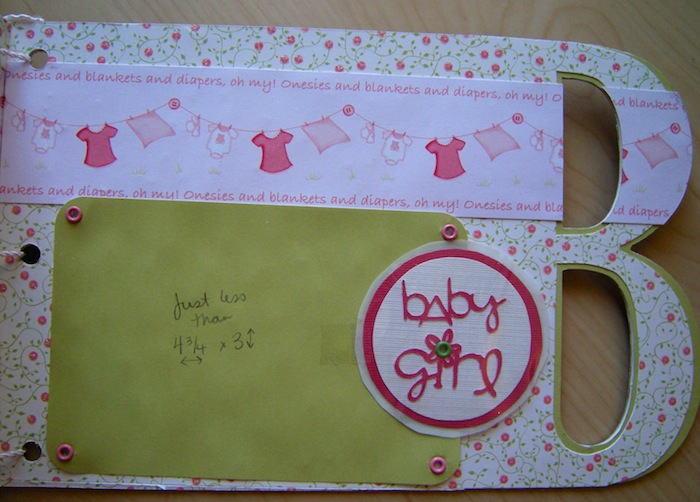
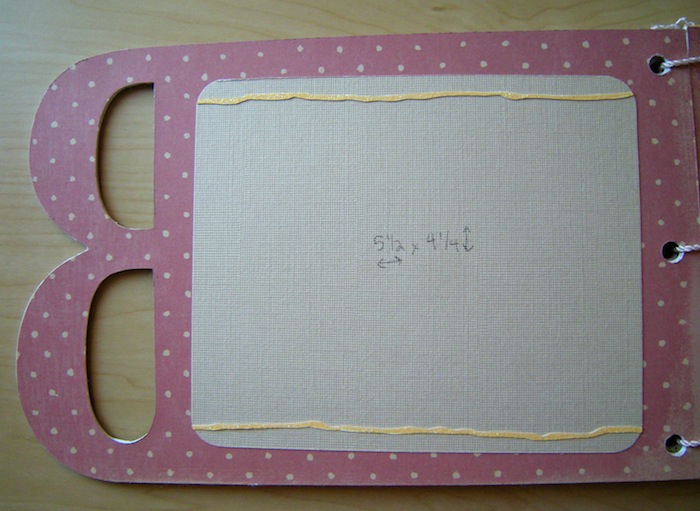
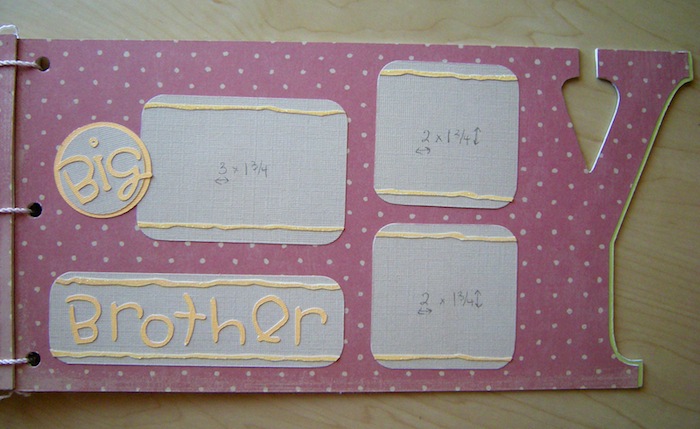
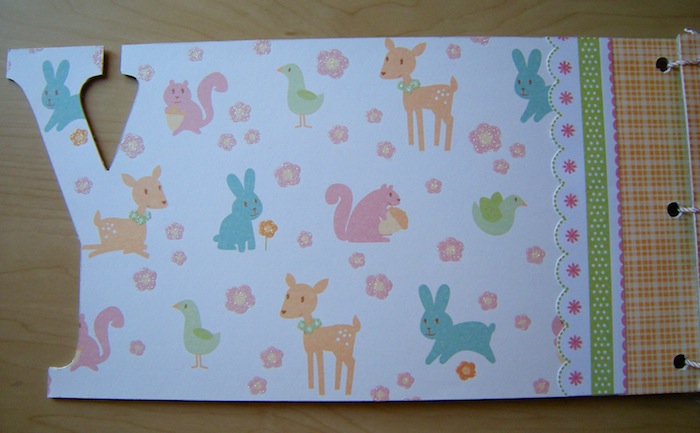
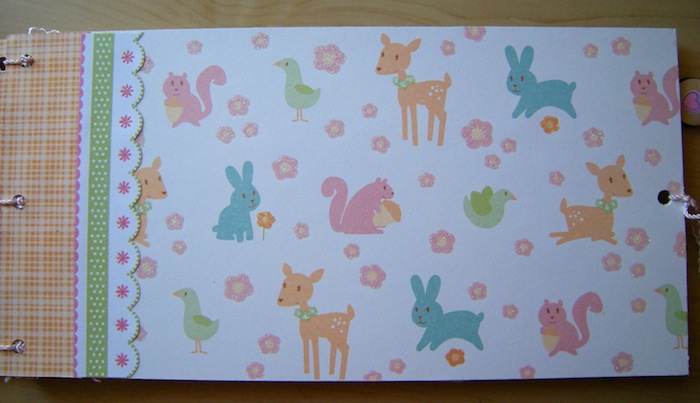
It’s a Bo Bunny My Word Chipboard Album, reading “BABY”. I used mostly paper from Nana’s Nursery Paper Stack Baby Girl, by Die Cuts With A View.
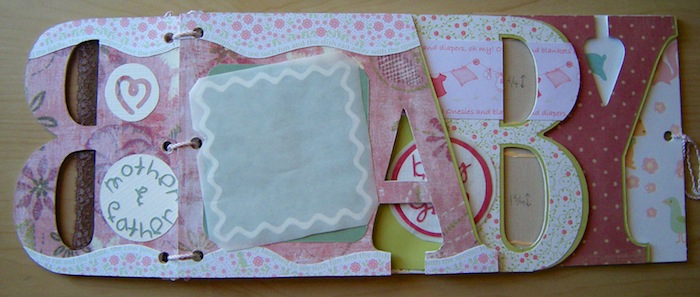
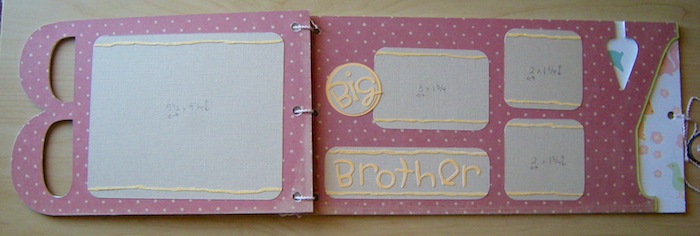
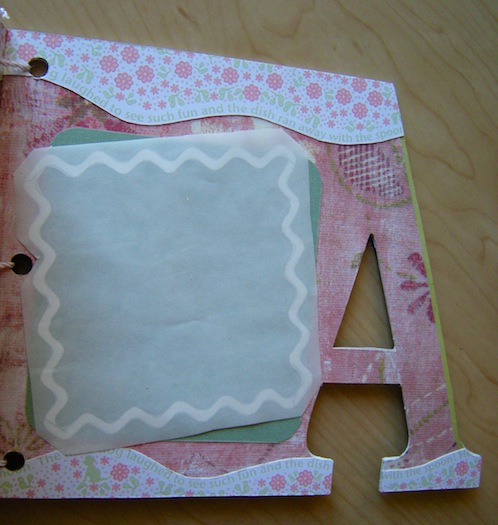
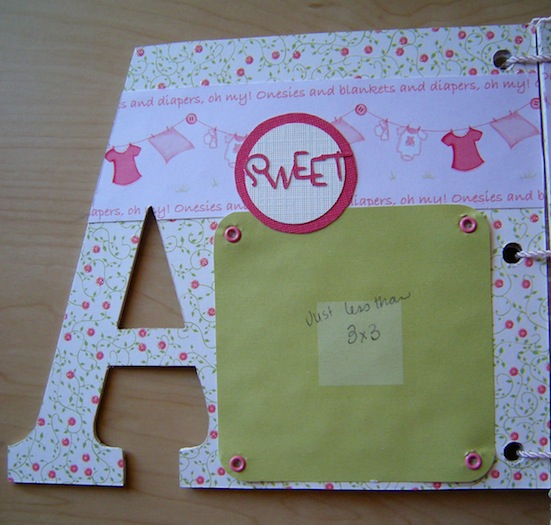
The goal was to create a photo album for the Mum-to-be. So I made some places to attach photos, with the measurements written in so she would be able to cut to size. There are two things I did not adhere to the book because they will sit on top of the photos she places in it, so they are still in a protective coating (the white rick-rack looking square, and the “baby girl” circle).
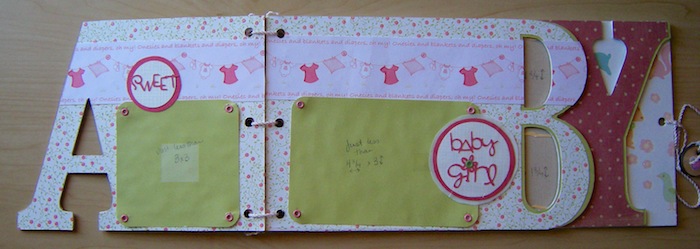
I painted the edge of the chipboard white, so that it wouldn’t look as cheap. I cut the paper by laying the chipboard on it and using an exacto knife to cut around it. Then I added layers to it of other paper to punch the background up a bit. After all the paper was cut, I ran the pieces through the Xyron machines with the permanent adhesive paper and carefully lined them up and stuck them together. I used my Cricut Expression, with a borrowed cartridge of All Mixed Up to cut out some words. (Having a network of fellow Cricut owners saves tons of cash!!) I have a corner rounder I used on the photo mats, as well as some simple grommets. I had some old seam binding that I used in lieu of lace in the letter B. I had some tiny pink rope I used to attach all the letters together, and make a tie to keep the book closed. There is a little wooden tag on the end to loop through, rather than tying the rope.
Had I thought of doing this site prior to the project, I would have had photos of the stages in between. I’ll try to do that on future projects.

All in all, I liked this project a lot. The only thing I would do differently with this one is to run the chipboard itself through the Xyron machine, and then stick the paper to it, and then cut it out. It was a little difficult to match up the already cut letters to the chipboard once they were covered in adhesive. Live and learn :/



I love that Album! So clever and different from the regular flat front albums.