Let me show you this chickadee wall hanging that has been on my craft table for months and months and months. You may remember that I fell in love with Mandy Pattullo‘s work (having done a fabric book collage and textile collage bird). I wanted to explore her method again and had the perfect reason to, yay!
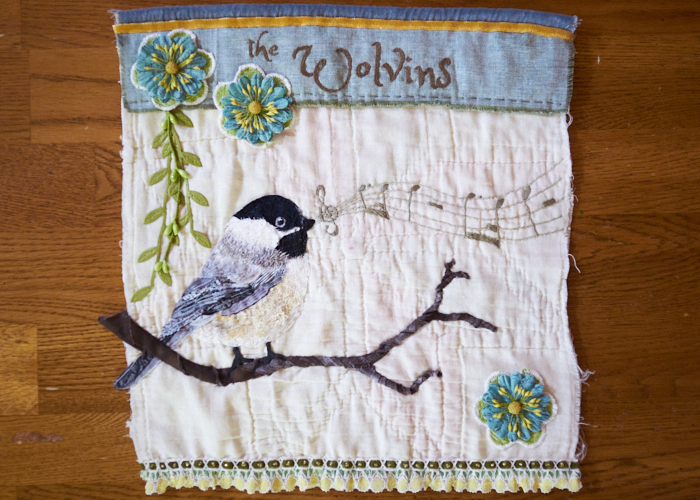
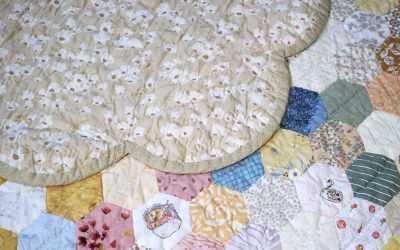
It was intended to be a gift last December, but there’s a reason I avoid deadlines when I can, and that’s because it’s no use rushing art. If I’m not feeling creative, a deadline just makes it so much worse. Luckily, my friend knows the feeling;) The thing is though, originally I had meant to only make the bird and finish it off in a small little canvas. But since I had it for so long… ideas swirled around and percolated a long time, giving me an excuse to make it a larger project. So, I used the same cutter quilt I had for the Stitch Club map project, but chose the backing as the front. Because the quilt was much used and much loved, the quilt block is a bit wonky in shape, but I rather like that aspect of it. (I didn’t snap a photo of the back, but it is the same 8-pointed star pattern except in pink and floral fabric, and I added too small rings to hang it up.)
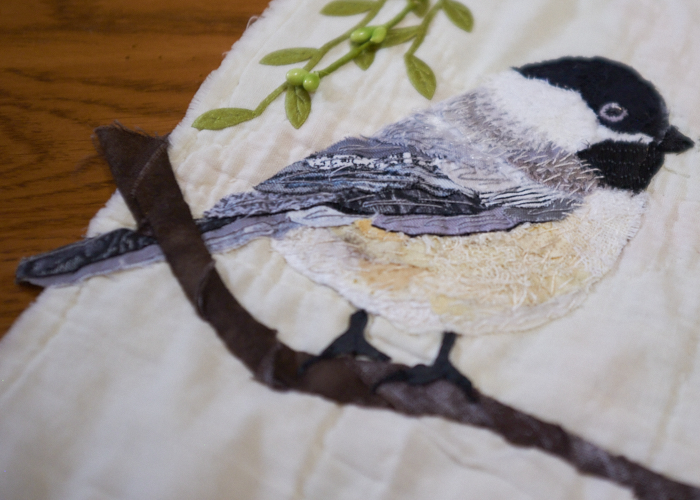
Let me talk about the bird just a little more (please forgive the photography, you’ll recall I basically live in a cave and have no patience for it). Each little scrap is unique; I didn’t use the same fabric twice. I added some different laces in there. There’s a sheer with the selvage edge for a bit of fluff. There’s even some plastic netting that came off some fruit. Eventually, I added straight stitches and some fly stitches for blending and detail. The eye is highlighted with satin stitch, and then I added some shiny white floss for the little highlight. I forgot, again, to make the wing separate to give it some 3D lift. Next time! So, I added some shadow with some black thread.
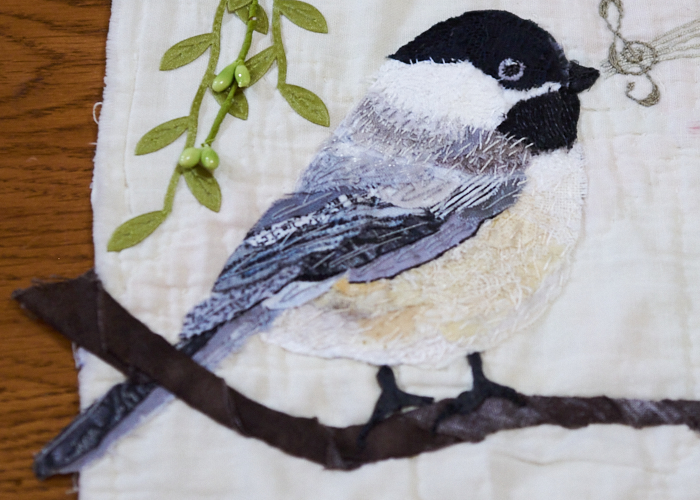
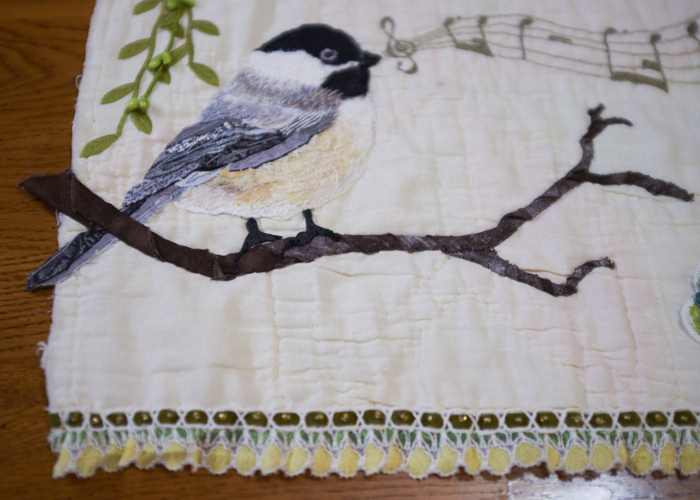
But back to the larger canvas: this presented its own problem because the bigger the canvas, the bigger the responsibilities to fill it, eep! My first idea was to put the little chickadee on a branch. I wasn’t exactly sure how to do it until I was just playing around with my scraps and the idea to twist one into a shape came to me. It worked wonderfully, in my opinion! (Oh, and check out the bird feet – I cut out some black leather from Boy’s super duper old jacket he donated to my craft stuff.)
I also knew I wanted to personalize the gift, hence adding the family name. I took Mandy’s advice to consider the back side of fabrics, which I found super helpful because I couldn’t find a color in my stash that worked well at first. Then, I added a velvety blue trim at the top, with a velvet mustardy yellow ribbon.
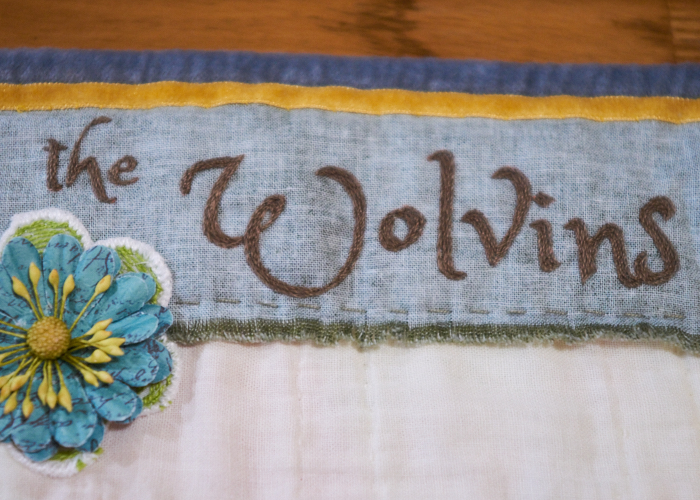
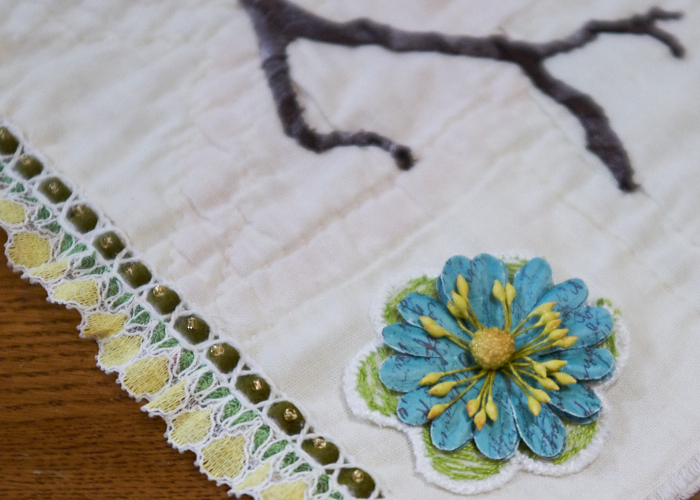
But then the project stalled, again, until I went through my stash for a different project and came across this old vintage ribbon with just the right look. And, of course, I had to add a little bit of bling with some tiny beads.
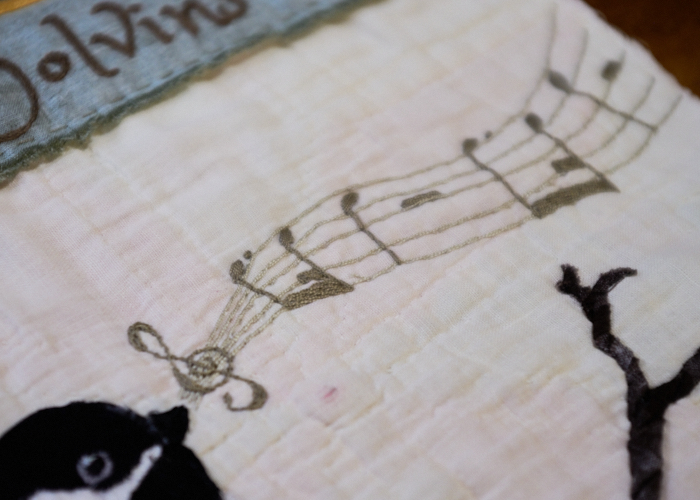
Annnnnd, it sat again for quite some time. I finally came up with the idea to fill the empty space with musical notes to represent the bird song. And it occurred to me that I could ask my musically talented friend to try to script the actual birdsong onto a stanza bar. A quick google search then gave me the idea to make it wavy. I worked the bars in one color, and the notes in another. Almost all of it is in stem stitch, except the note heads are with satin stitch.
The project sat, and sat, and sat some more. I finally added the embroidered details to the bird. Then it sat, and sat, and sat again. I was nearing the end and could not figure out what was missing, but something was. I came across a vintage floral strip, and cut some apart. Their style wasn’t exactly matching, but I liked their texture. (I used one on my small crazy quilt project). Then I looked in my scrapping supplies and found some paper flowers that were a little too aqua, but I felt would work because of the greenish bits. After stitching them on, I felt something was still missing, and that’s where the little vine ribbon and bendable wire garland came from.
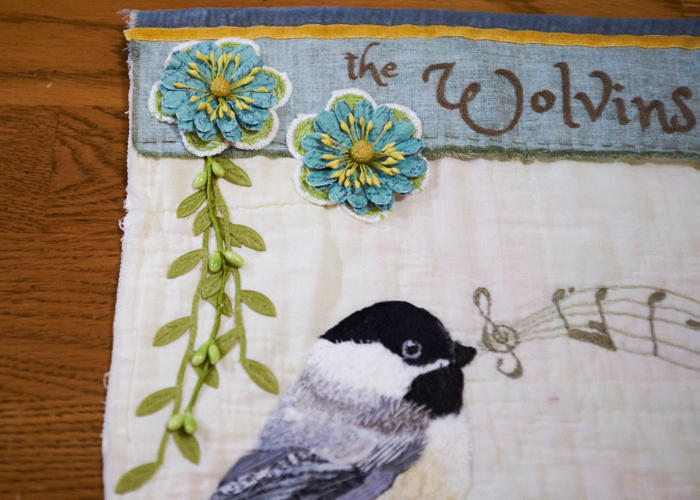
Overall, I was disatisfied with just how long this project took me (almost a year!) but very happy that it gave me more time to turn it into something well beyond my original intent. I often make small projects for the sake of time; maybe this has taught me to rethink time differently and accept a breeding ground of works-in-progress!


0 Comments