At the start of summer, I signed up for my first stitch-along through Wild Olive for a Summer Reading (English paper piecing) tote bag. I was still looking for a “mindless” creative project due to covid tensions in the air, so this popped up just at the right time. I do love a good bag! And EPP! Annnd Mollie’s designs are always so kawaii (cute)! I ended up not stitching along, but I finally finished up.
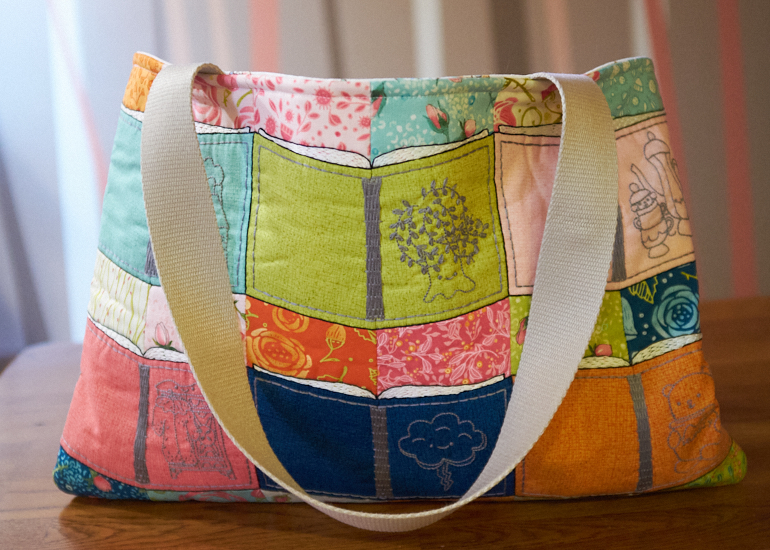
Per the usual around here, I went beyond the guidance in the pattern. But first, the fabric. I wanted to use what I had in my stash, but because my brain was still “unprecendently” addled, I couldn’t feel confident pulling together a coordinating set. Even though we “locked down” our finances, I justified buying my first layer cake of fabric. I chose Abby Rose (PDF) for Moda, by Robin Pickens. And, because I went with the larger layer cake (I could have gotten away with smaller charm packs), I have plenty of fabric for other projects which is great since I just love some of these prints so much.
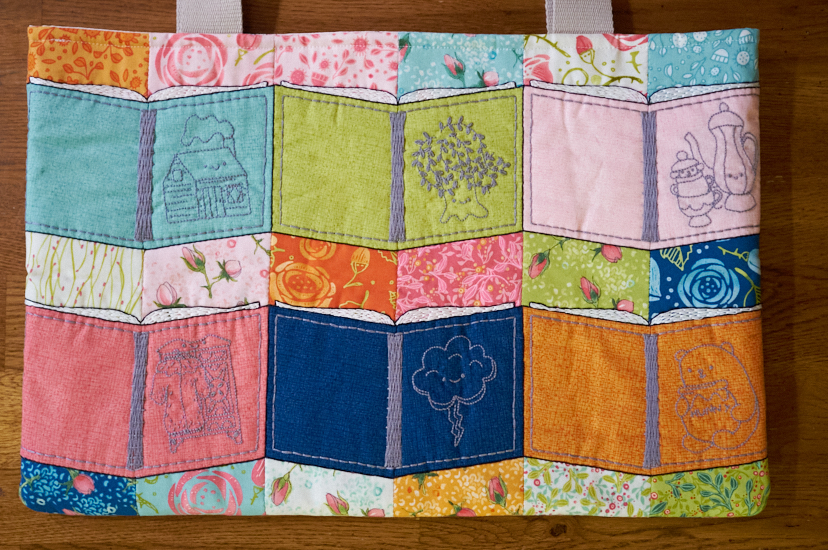
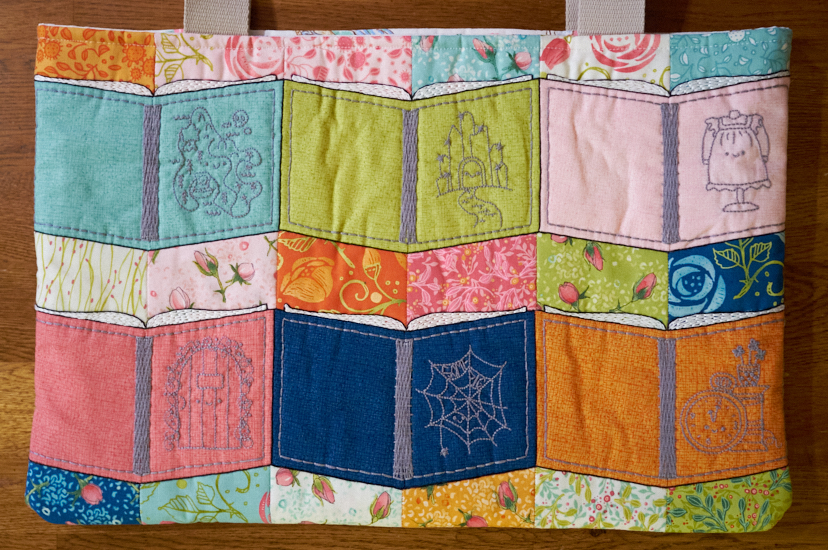
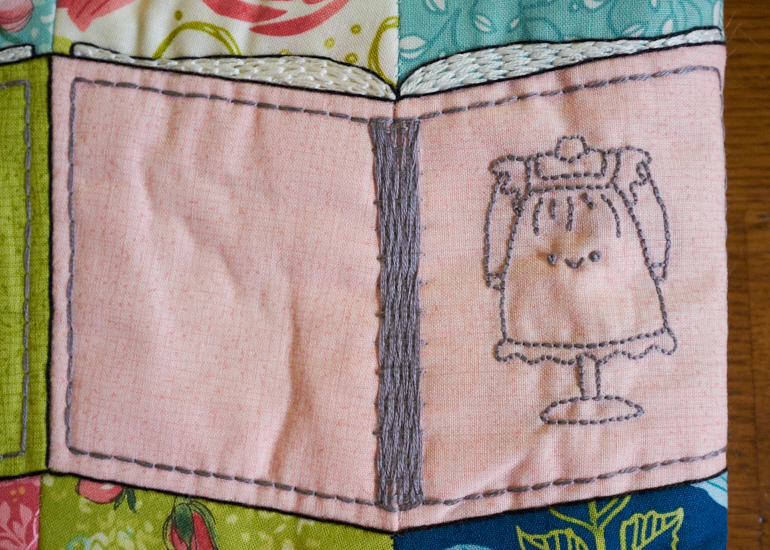
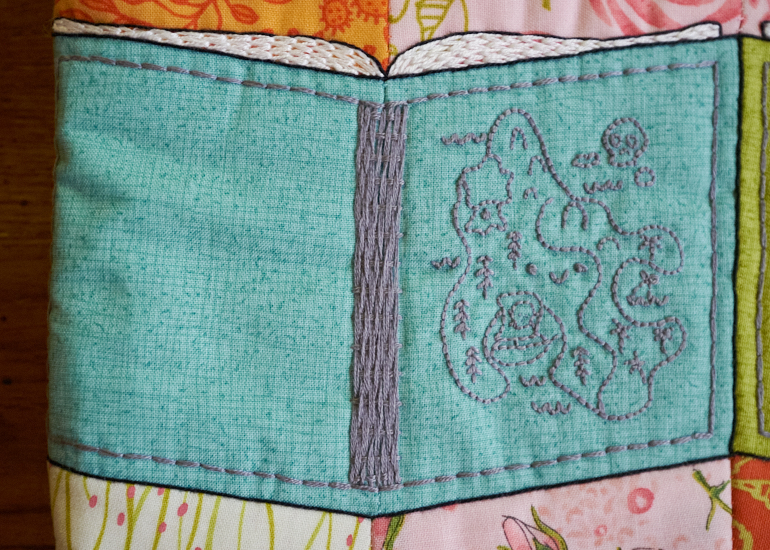
See if you can guess these book titles, which are all children’s classics;)
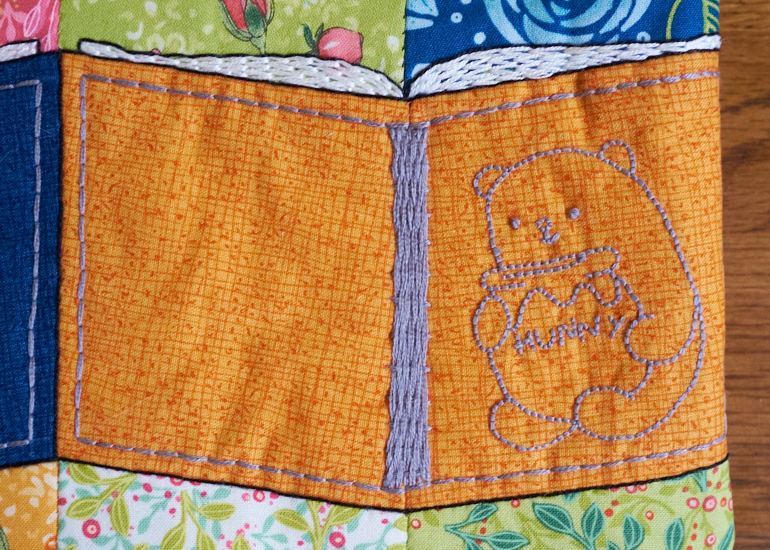
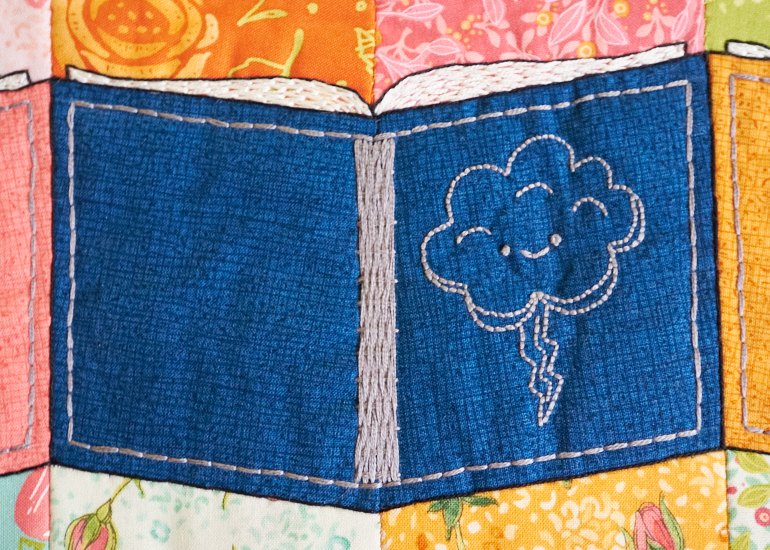
Anyway, Mollie suggested we use black for stitching, but it wasn’t going to show well on the dark blue, so I hemmed and hawed until I settled on a nice shade of grey that worked mostly well across both the light and dark swatches.
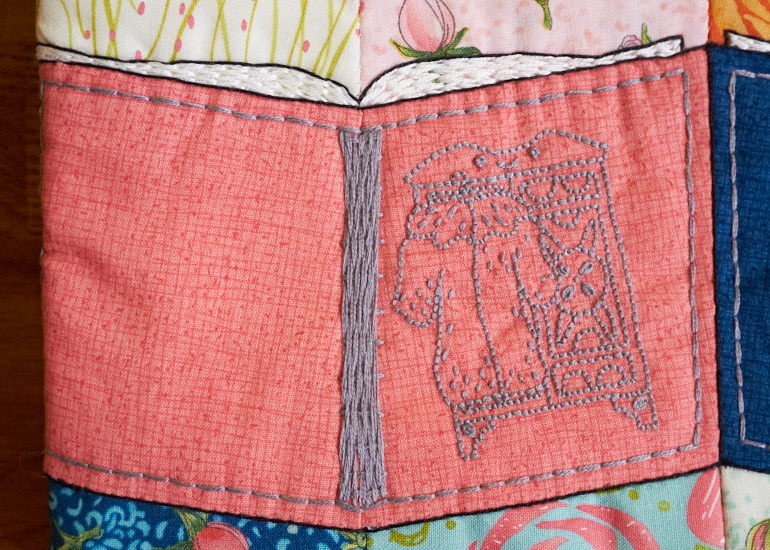
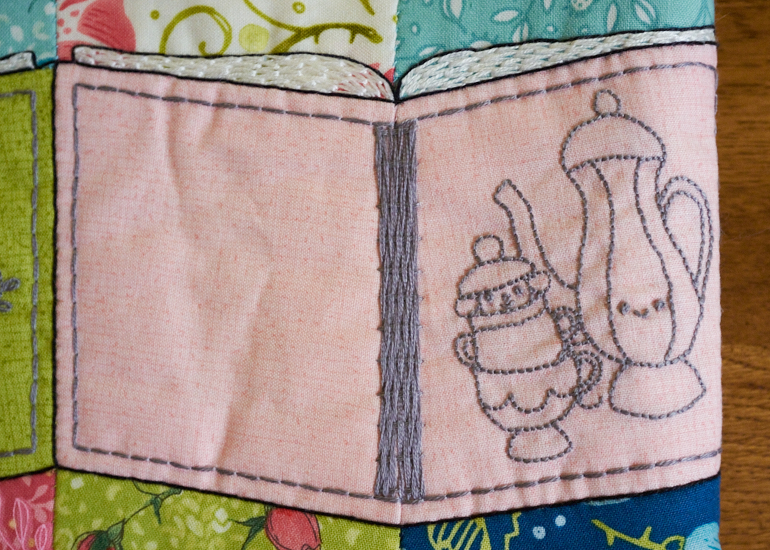
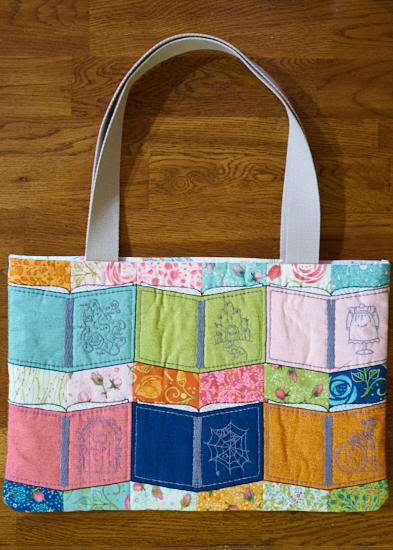
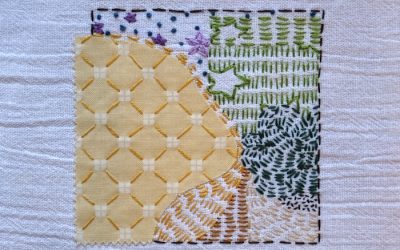
I wanted these parallelograms to really look like books, so I stitched around their borders in grey and added an element for the “binding”. I am not sure if this is a “stitch” or a “technique” but I call it a weaved ladder stitch (this is not what the official “woven ladder stitch” looks like). I didn’t make this up; I saw it somewhere along the way but can’t place it now. You make horizontal bars and then weave threads vertically through them until you fill out the space. This was my first go at it, and I got better as I went along with this bag. I feel a bit guilty for not practicing well first (or for not ripping out the early attempts), but I am overall content with how it turned out.
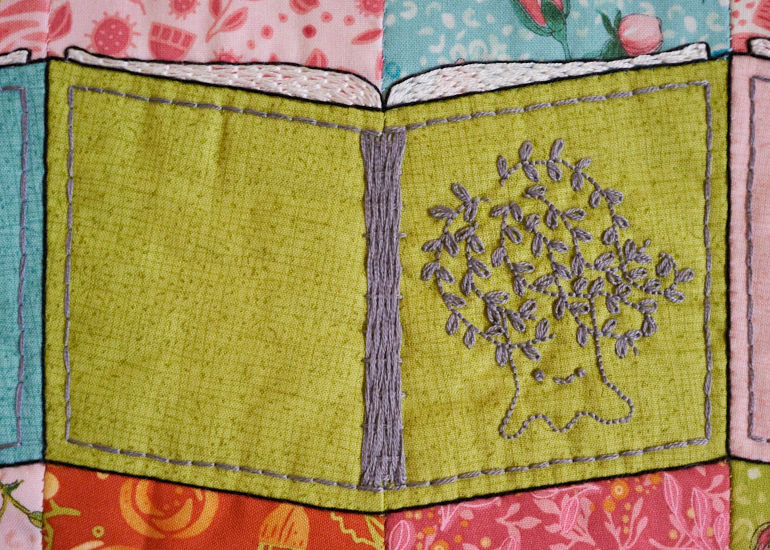
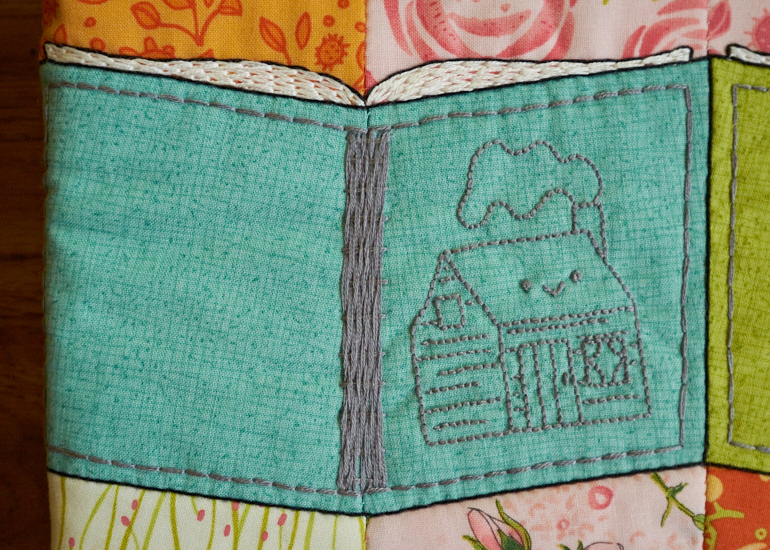
During the sew-along, Mollie included images from fellow stitchers’ works-in-progress. Samsamsharee had adapted the EPP design to include a white triangle piece to mimic book pages. What?! Such a clever addition to the pattern! But, lo, I was too far gone in the steps to go back and I don’t do EPP enough to trust I could alter the shapes and get it right. So, I cracked a plan to add embroidered pages (I used a basic chain stitch with floss).
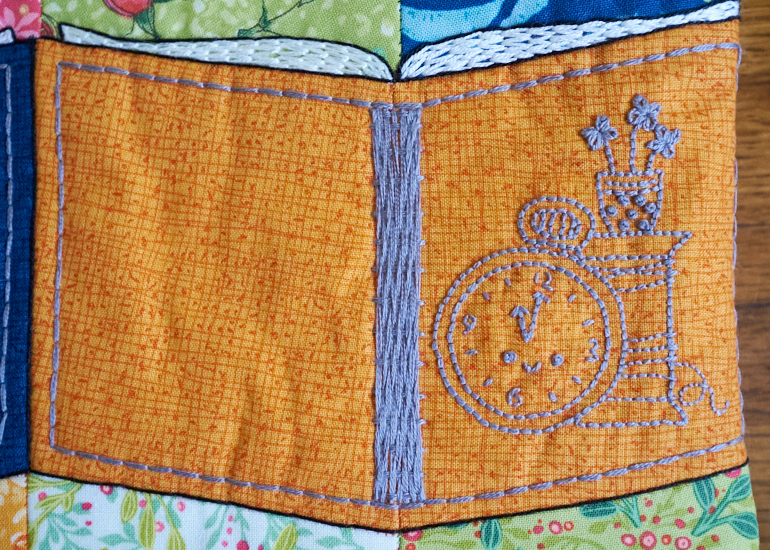
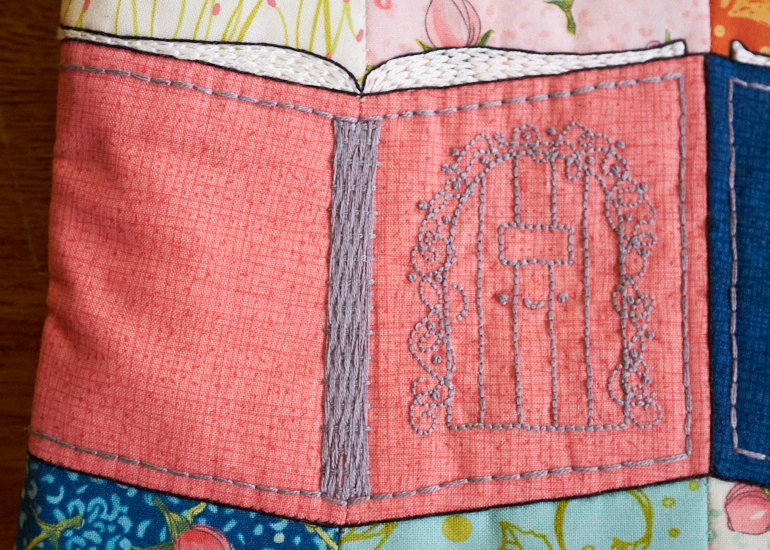
Something was still missing from my “books” so I opted to outline them in black perle cotton (simply couched down). I heard once that every good design includes an element of black (though I don’t believe this is always true). I do really think it brings it all together so well!
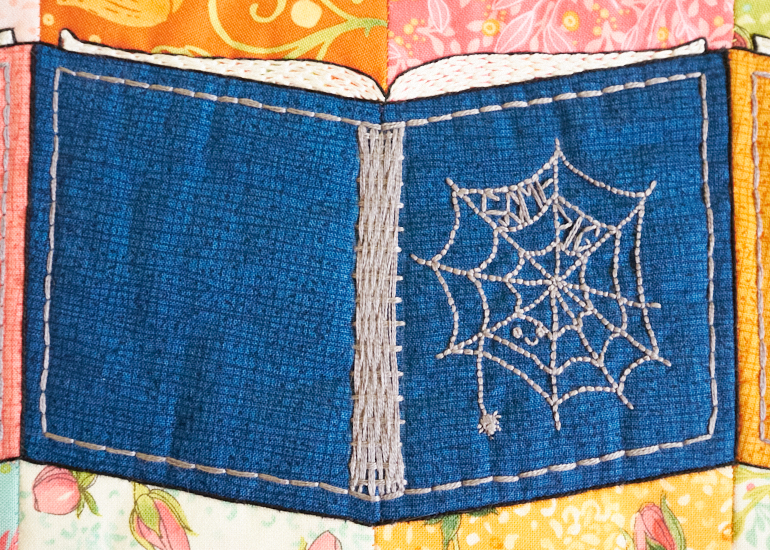
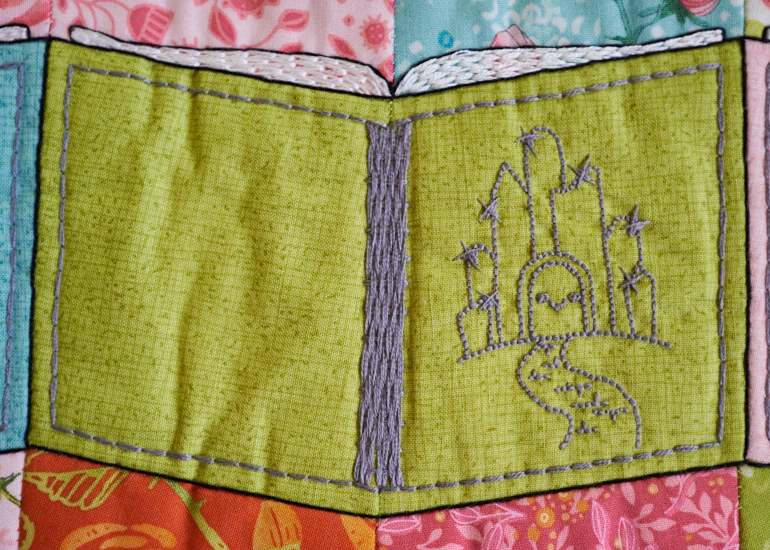
The books, if you were wondering, covered a wide range of tastes and are all considered “classic” in the Children’s genre as I mentioned. We have: Little House on the Prairie (the cabin); Wind in the Willows (the tree); Alice in Wonderland (the tea set); Chronicles of Narnia (the wardrobe); Roll of Thunder, Hear My Cry (the storm cloud); Winnie the Pooh (the pooh bear); Peter Pan (the map); Wizard of Oz (the Emerald City); All of a Kind Family (the dress); Secret Garden (the garden gate); Charlotte’s Web (the spider web); and The Borrowers (the spool and pocketwatch). I may have never read any of these books (should I be admitting that, I wonder?), but reading is a core element of my life. Plus, it’s a bag! And, it’s cute! And, it got me through the unsettled early stages of “the new normal” 😛
In constructing the bag, I used a really nice wool felt batting and two layers of fusible interfacing (the last because my lining fabric was so thin and the black threads showed through). This turned my bag into a really nice and well-structured tote. I like it a lot. The straps came from my stash – yay for collecting creative supplies without a plan across the years!
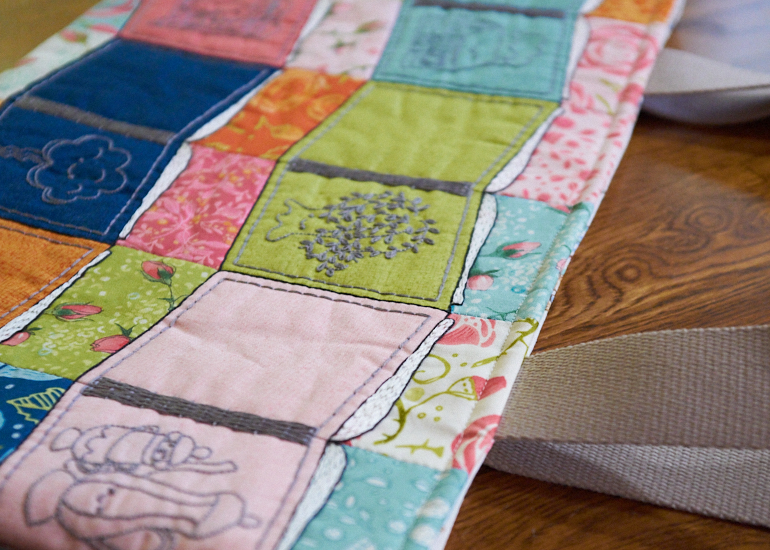
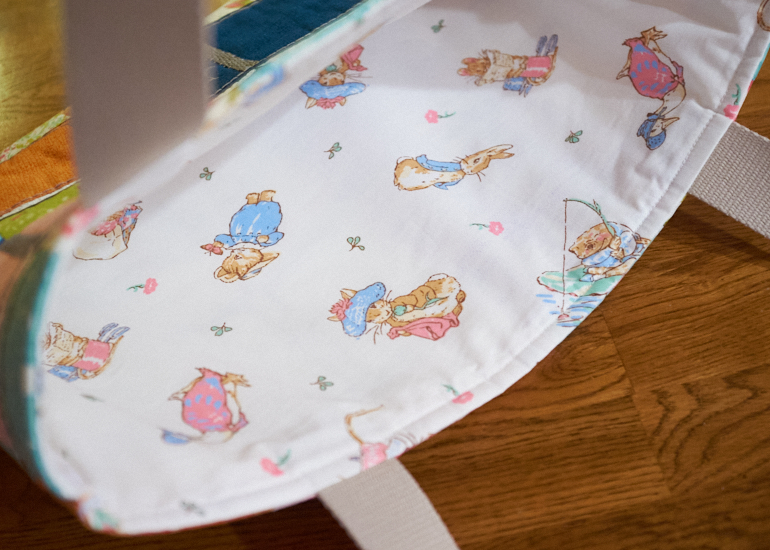
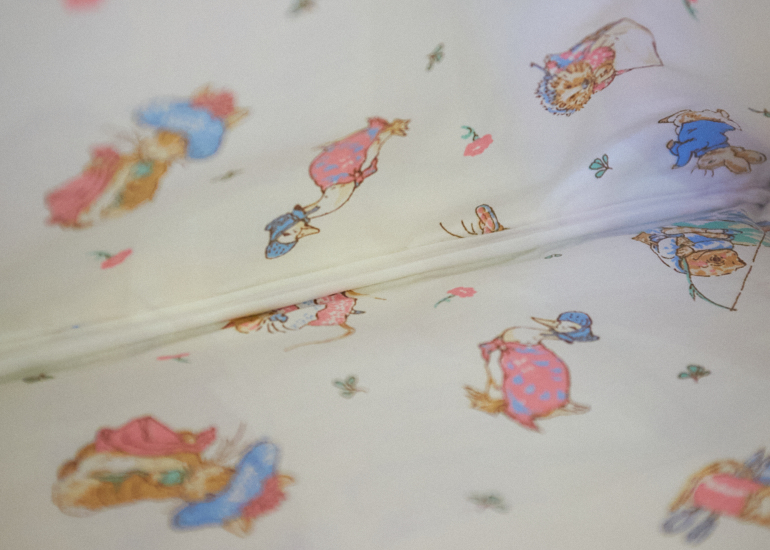
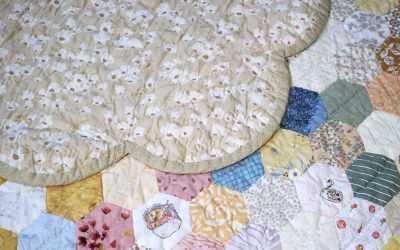
Mollie’s design also used a traditional technique when making a bag with lining. However, the way I went about cutting (or, rather, lack thereof in my haste), by the stage to sew it all together, I had to go a different route. In turn, that meant finding the best solution to complete the project. I chose a French seam look by adding white binding. It’s a bit complicated to explain what I did, but if you know different ways to construct a bag with lining, this method isn’t likely to be unfamiliar to you. I was tickled to find this fabric in my stash – it fits so well with the theme!
The stitch-along may be over, but you can still pick up the easy to follow pattern from Wild Olive here. Thank you, Mollie, for hosting such a cute project! And Robin, for the lovely fabrics!



0 Comments