Let me tell you about Shawkl’s BCQC 1 class! Kathy is so generous for putting it together – for free! The instructions are very clear, and she is quick to answer questions and comment on your work. I’ve learned the basic elements of making a crazy quilt block and am super excited to start the next course!
You’ve seen my progress through the recent WIP-TAST-ic Wednesday posts (39, 40, 41, and 42), but here are the final results!
And I can’t say how transformative the last task was – adding the lacy bits, buttons, beads, and charms just really took the block to a whole new level! Remember where I was in the last post, with this photo?
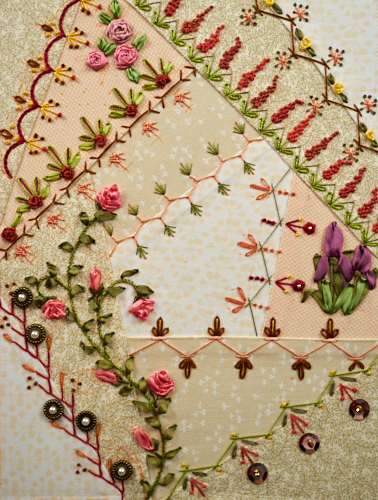
And then the final ta-da! Wow!
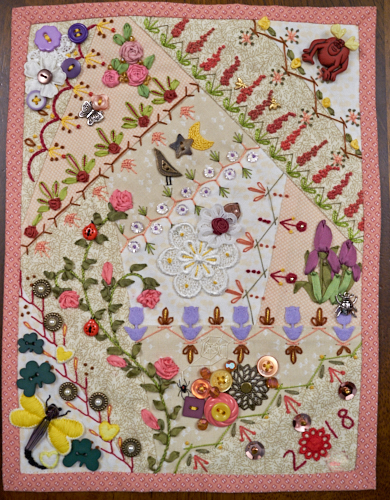
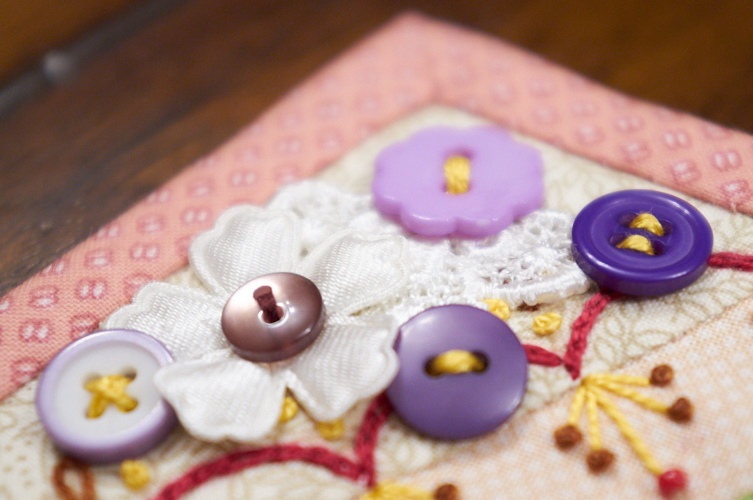
Let’s look a little deeper at all the bits and baubles! Starting in the top left corner, some buttons and lacey bits over a scalloped stitch:
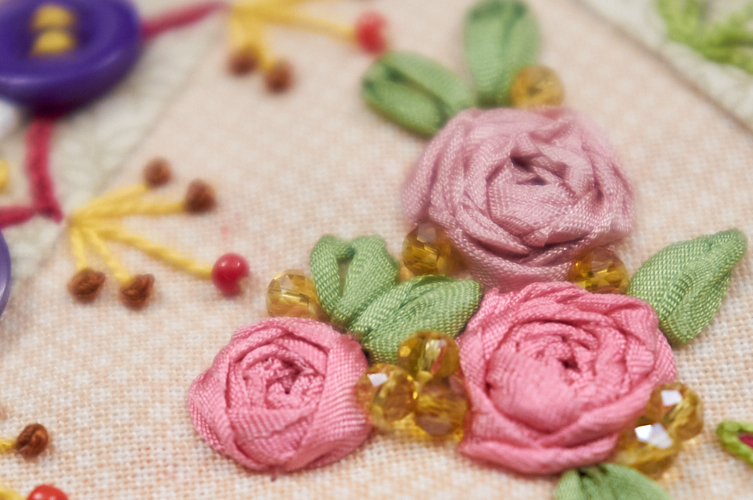
Woven ribbon roses mixed with glass beads:
A small butterfly charm and button:
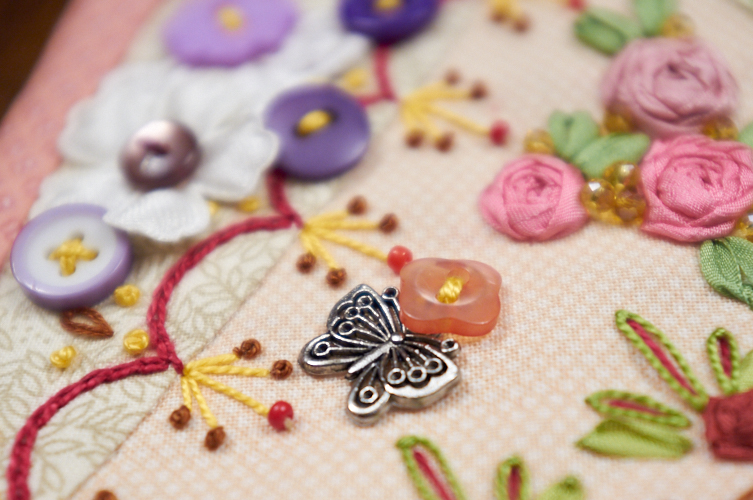
A wonky button I inherited from my mom over a decorate stitch with French knot ribbon roses:
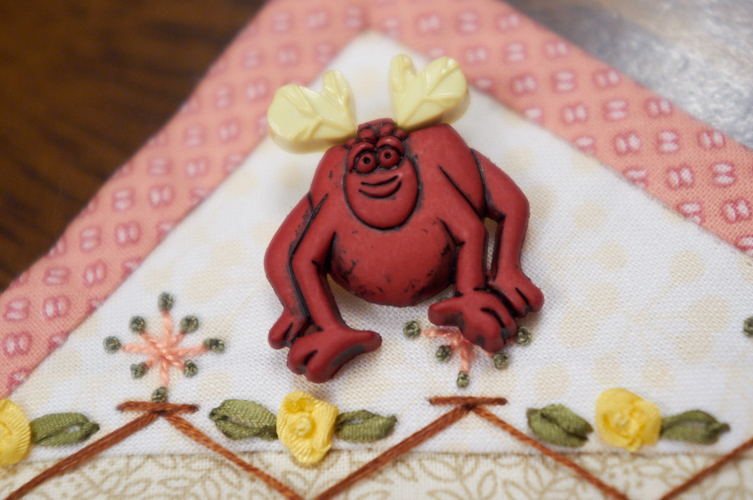
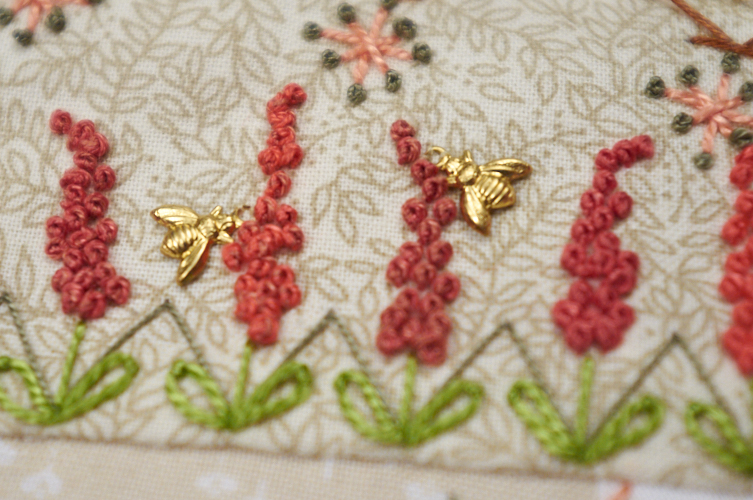
Two tiny bee charms with a row of colonial knot flowers:
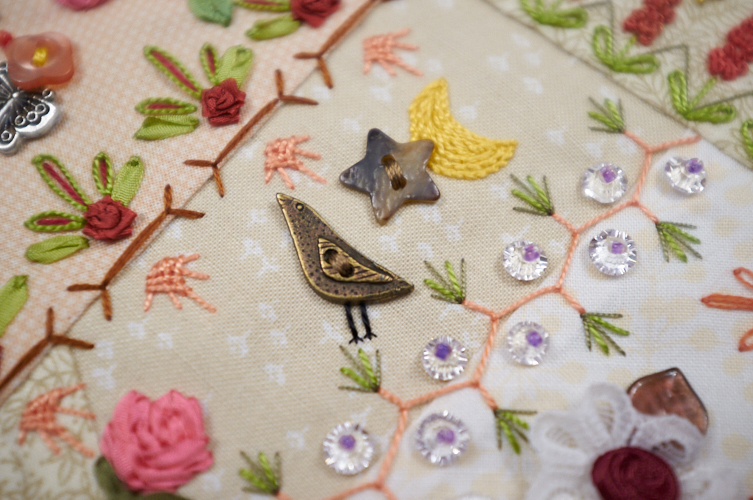
A little bird charm with a shell star button surrounded by other decorated stitches (including Fargo ribbon roses):
Ladybug buttons creeping up a fly stitch ribbon rose vine:
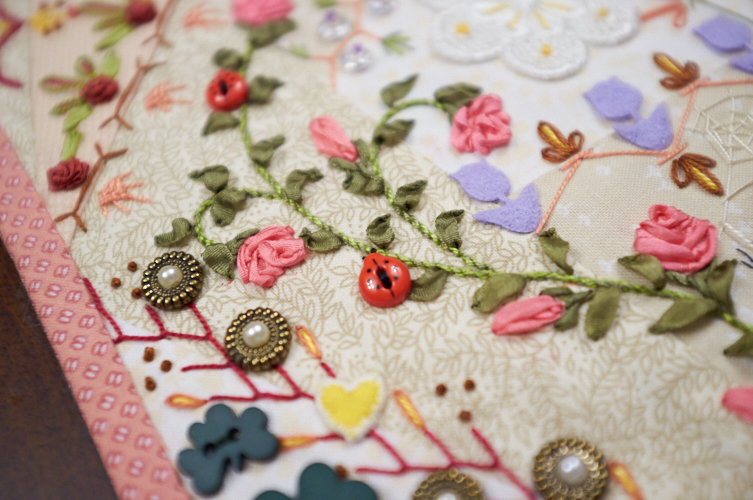
I cut apart some flower-shaped ricrac meant for scrapbooking for these tulips:
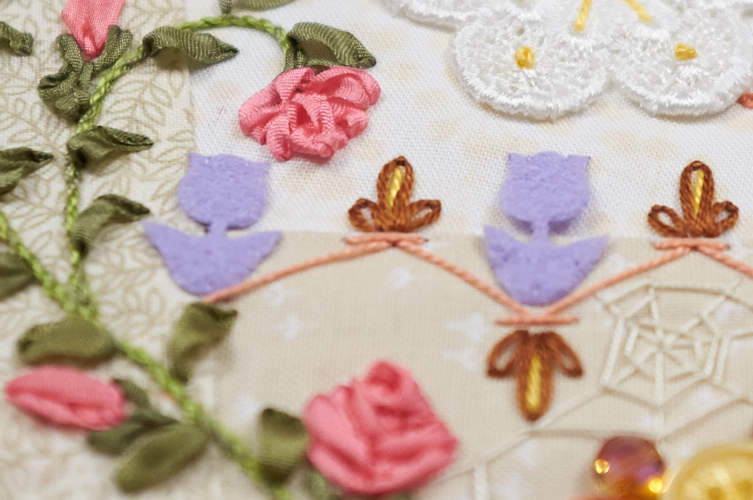
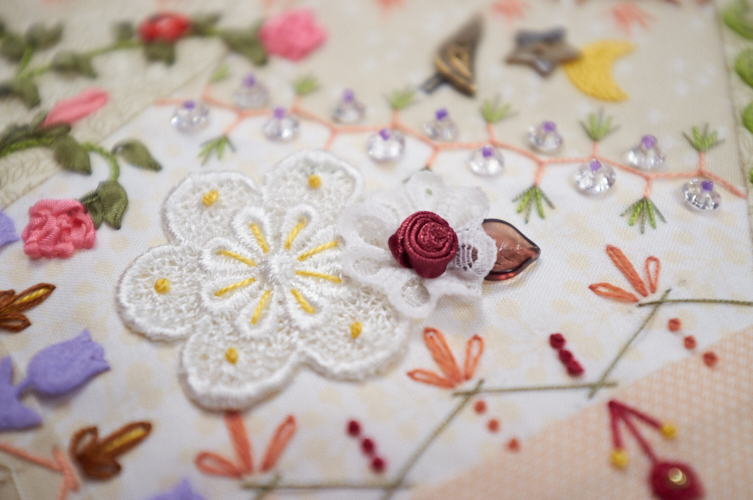
I dissected a lace table runner long ago (I used part of it before!) and added a little lacey rose embellishment and a glass leaf bead:
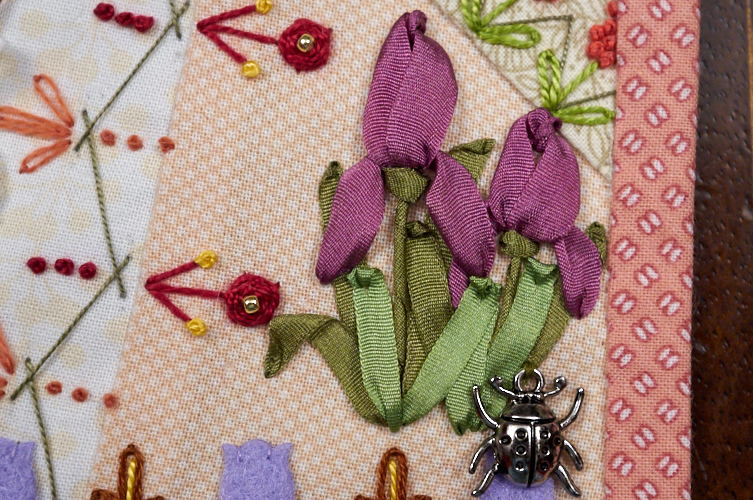
Ribbon irises and a little bug charm, sitting next to a row of seam stitches:
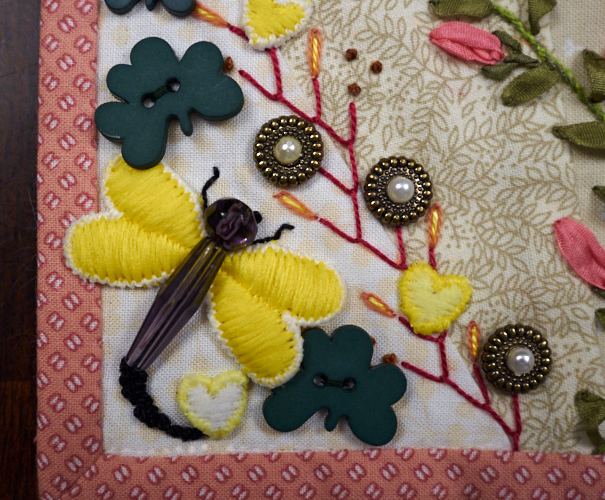
A dragonfly created out of some vintage heart ribbon and beads, with clover buttons and an embellished seam:
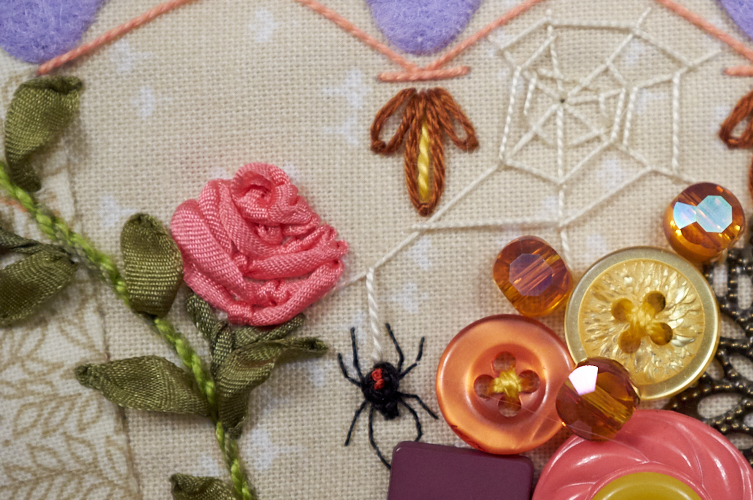
My old friend, the black widow and her web (I was bit twice by a black widow, if you hadn’t heard – and survived to tell the tale!):
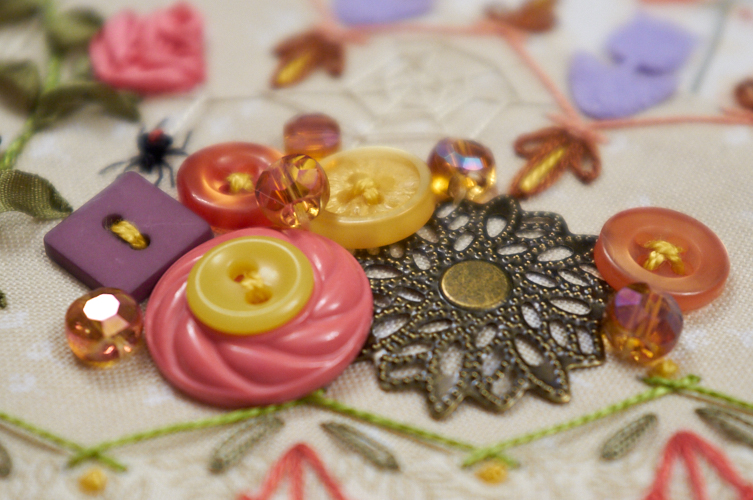
A cluster of baubles:
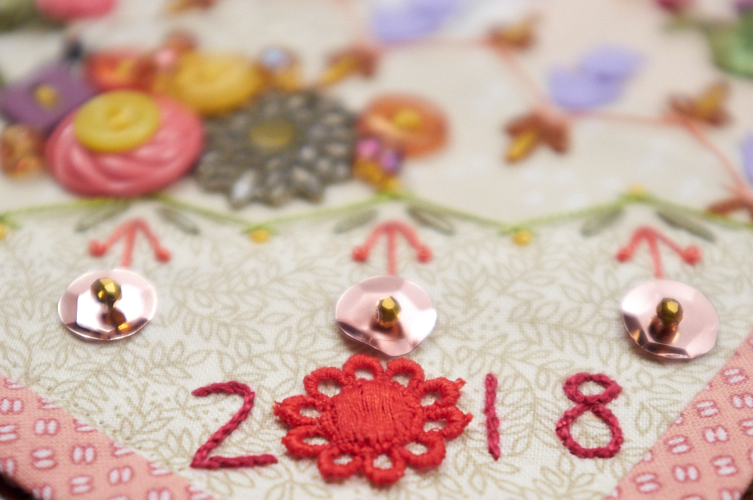
I “signed” the block (and erased my initials from the full photo in case you were wondering what the blobby bit was):
I finished it off with some backing-turned-binding and a tube to hang from a dowel rod. It isn’t that neat, but it gets the job done:
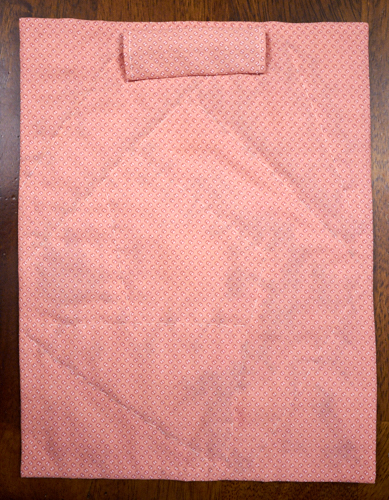
While I am proud of my first crazy quilt block, there are mistakes galore (that I’ve learned from, yay!), and I especially don’t like the lower left corner – it’s too stiff, dark, and heavy for balance. I also am not sure I would want to put so much pizazz into an actual full quilt, but for a single block the size of a piece of paper, it was loads of fun piling everything on top!




This is really cool…I love it. I learned so much from Kathy’s classes.
Marjorie, thank you! I am so glad you told me about it!