You’ve read about my idea for this here, right? Ok! See all completed TAST posts here.
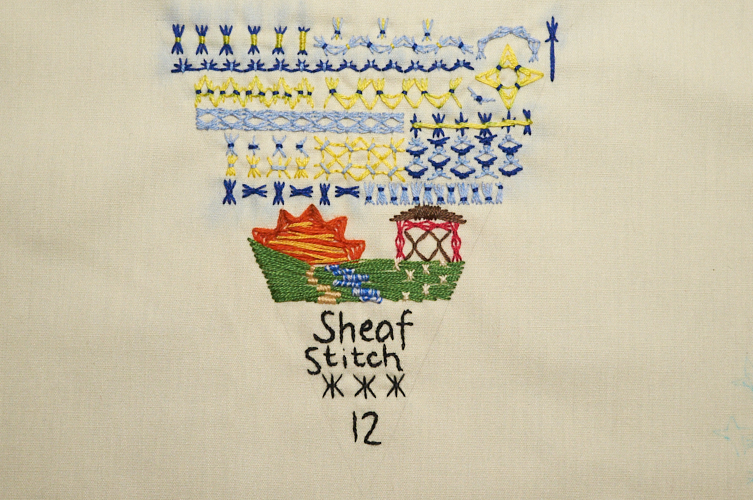
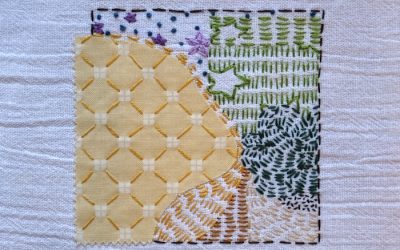
Here is the front and back of last week’s TAST challenge: the sheaf stitch.
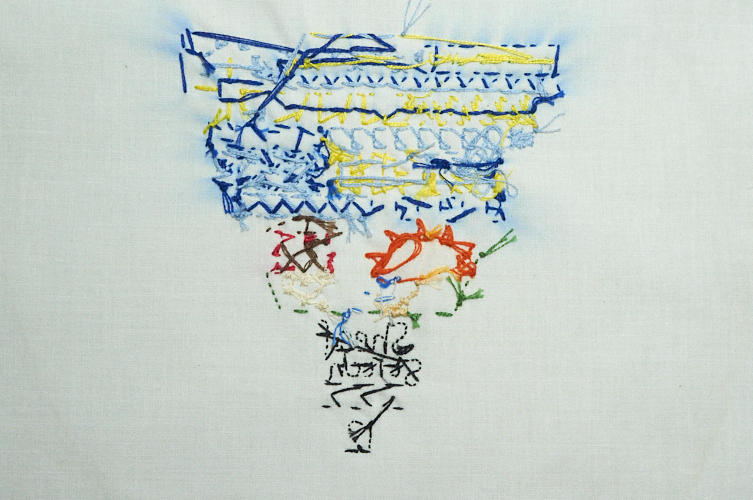
Yes, I am beyond irked to see the dark blue thread bleed. I guess that is what I get when I use cheap threads! It is only my second experience with bleeding threads, and luckily neither has been on any kind of “heirloom” piece, so I got over this pretty quickly. Just another lesson learned and documented to be remembered! (The offending thread has since been disposed of.)
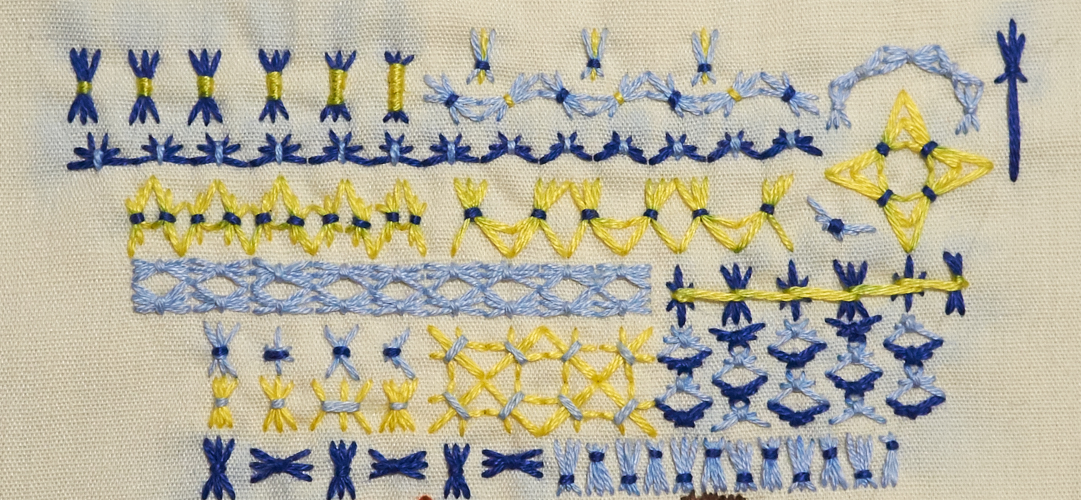
At first glance, I once again thought that the sheaf stitch was pretty straightforward without many options. Hoo boy, was I wrong! In order of segments above from left-right, here is how I played with the stitch in the top “row”: number of wraps (dark blue and yellow), varying colors/angles/lengths (dark blue, light blue, yellow), creating an arch (light blue), creating a torch/sword (dark blue). The second row is exploring what making a border might be like (dark blue and light blue). The third “row” creates a sort-of zigzag effect (yellow and dark blue), a scallop effect (yellow and dark blue), a tiny flying thing? (light blue and dark blue), and ends in a cross/4-pointed star shape (yellow and dark blue). The next “row” was again exploring a border (light blue), and then seeing what happens if I play with lengths of the stitch and a continuous wrap between them (dark blue and yellow). The following row is divided into three “areas”, with area one (on the left) having two rows. The top is an experiment with stitch lengths (light blue and dark blue) while the bottom experimented with stitch spacing and count (yellow and light blue). The middle area was creating a fancy fill, using different stitch lengths and angles (yellow and light blue). The left area was another fill, alternating colors and varying stitch lengths (dark and light blues). That bottom row exhibits more border options: alternating direction of the sheaf stitch (dark blue) or where the sheaf stitch is tied (light blue and dark blue).
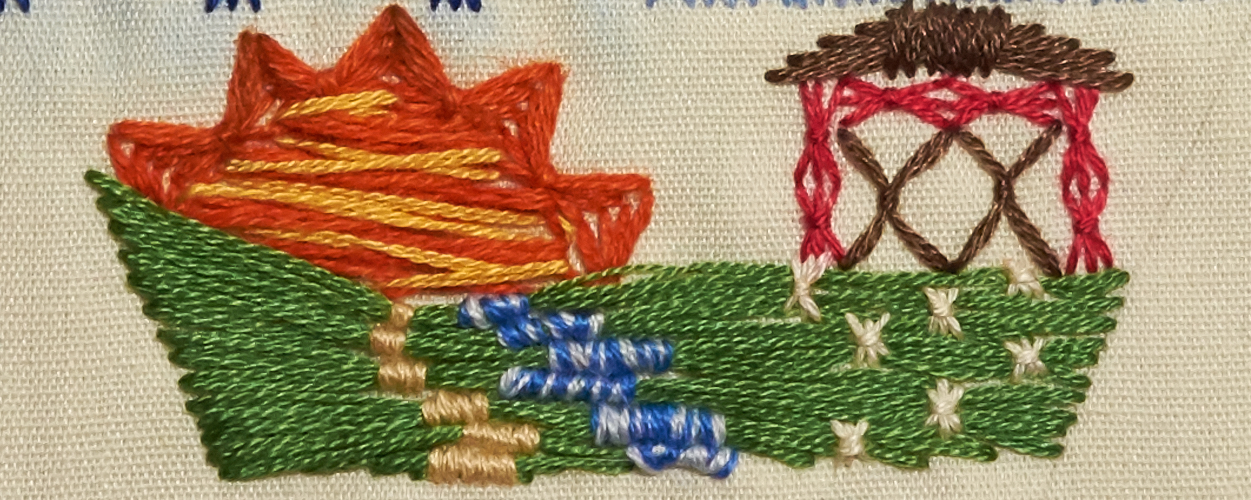
As I mentioned before, I struggled pinning down the motif idea. This farm scene was in my head originally but I feared it wouldn’t work out well. However, the other ideas I had seemed not as exciting so I decided to try this. I used very long sheaf stitches in green to mimic the landscape, and then tied them with varying number of wraps in a brown to suggest a path. I added a similar technique in variegated blue to imagine a bubbling stream. The sunset was a fun exercise in creating a rounded shape (and then weaving threads to fill it in). And the barn saw a sheaf stitch with only two straight stitches (for the doors), or wrapped individually many times (for the roof). And, of course, little sheafs of grain in the field in front of the barn. What do ya’ll think?
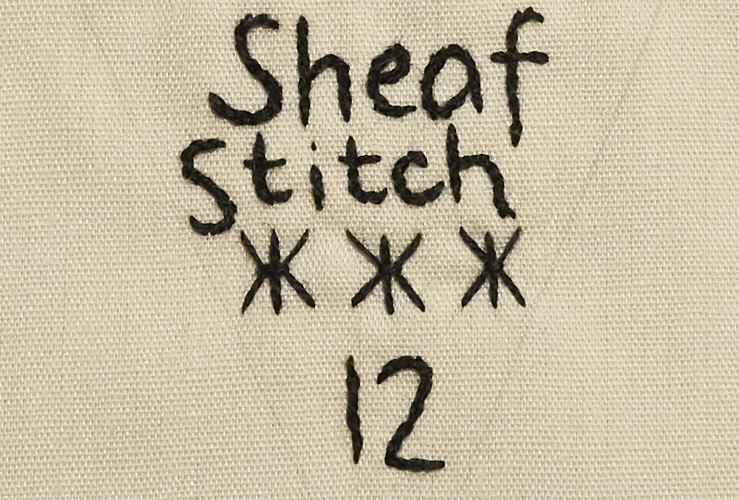
Above, the title section. I bought new black DMC thread but it also appears fuzzy when I stitch. I still can’t tell if I prefer split stitch or stem stitch, apparently, as this has both. Oh well!



0 Comments