You’ve read about my idea for this here, right? Ok! See all completed TAST posts here.
Front and back, for posterity;)
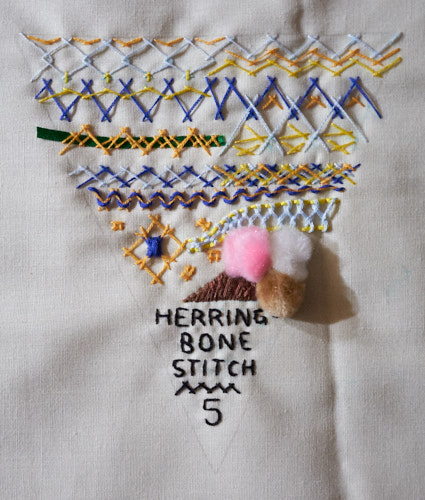
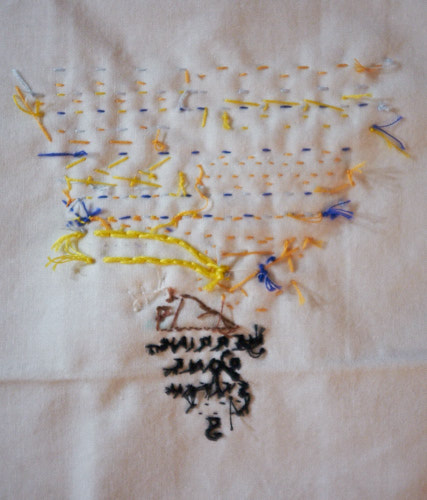
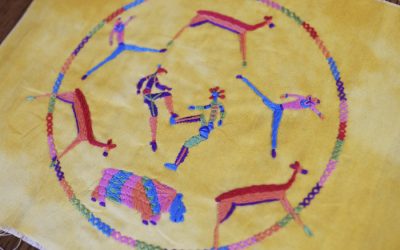
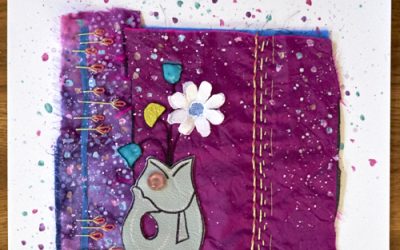
I just kind of played around with the stitch – nothing too fancy here. I tied some, I overlapped some of varying sizes, and I used some to couch a ribbon.
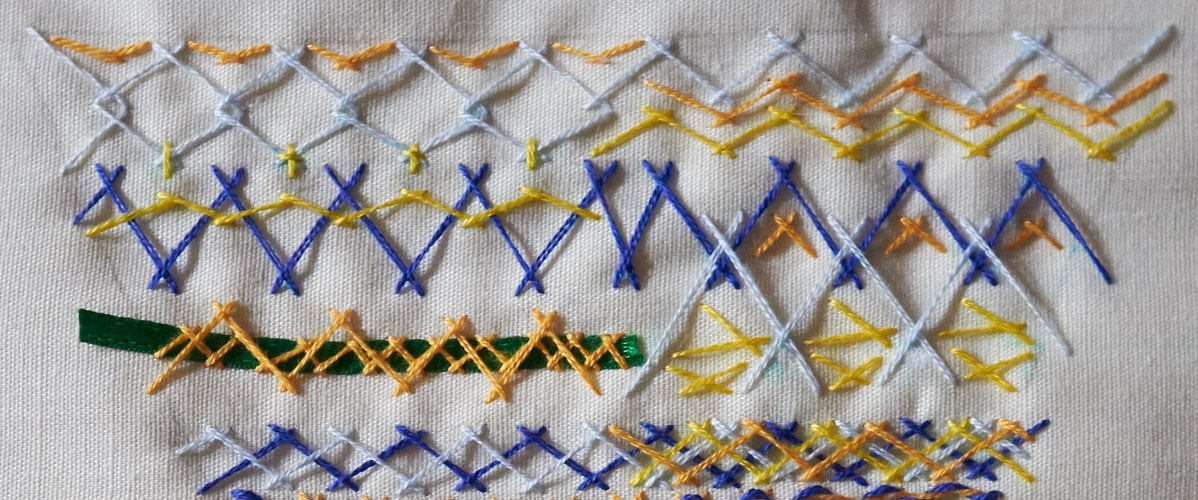
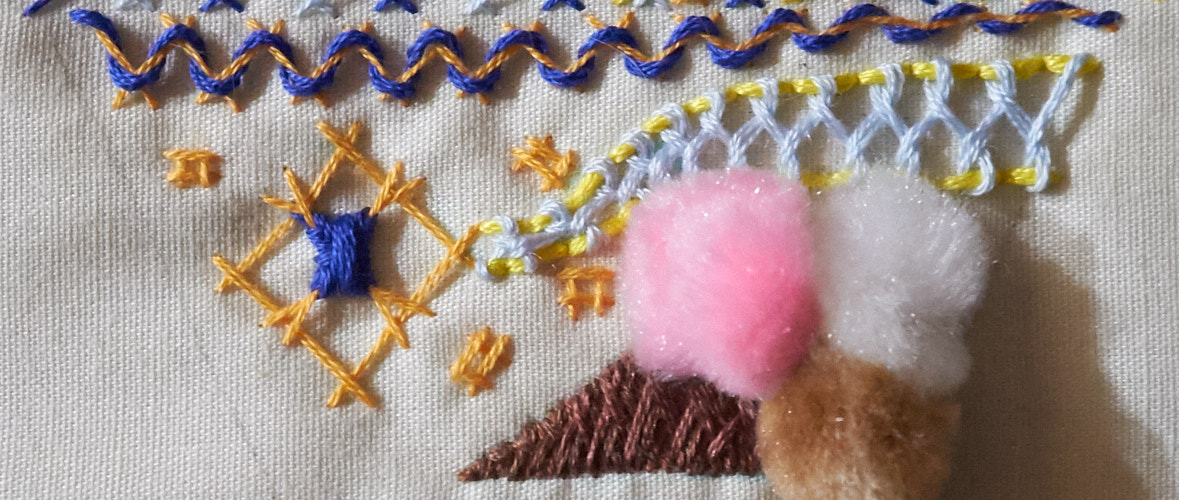
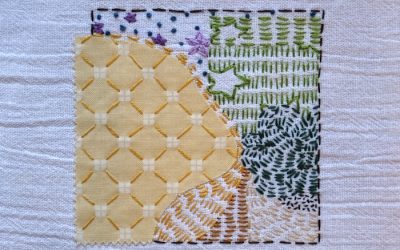
I began to explore with more fluid shapes, and herringbone, though seeming stiff, actually easily bends around curves. In this example, I just made a row that shrank in size, then threaded it (orange and dark blue). Below that is a ladder herringbone stitch (using a backstitch base in yellow, with light blue). To the left is a few herringbone squares, and the center feature is a laced square sitting over another square at a different angle. The main motif is an icecream cone with pom-poms. The icecream is just tacked down with quilting thread, but the cone is a bunch of overlapping herringbone stitches in a few different browns.
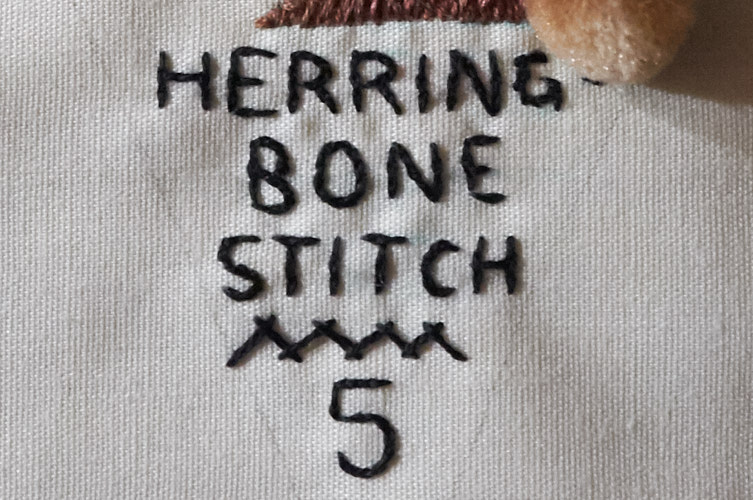
And the title portion – I used two strands and it does look much nicer than previous attempts, though I could still use some practice making the stitches small enough to handle the tiny curves. I also almost forgot to add the basic stitch so I had to squeeze it in. You can’t tell here, and I hope that when all the pennants are lined up together, you can’t tell then, either!
What will next week bring??



0 Comments