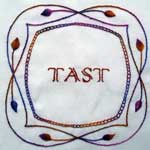
You’ve read about my idea for this here, right? Ok! See all completed TAST posts here.
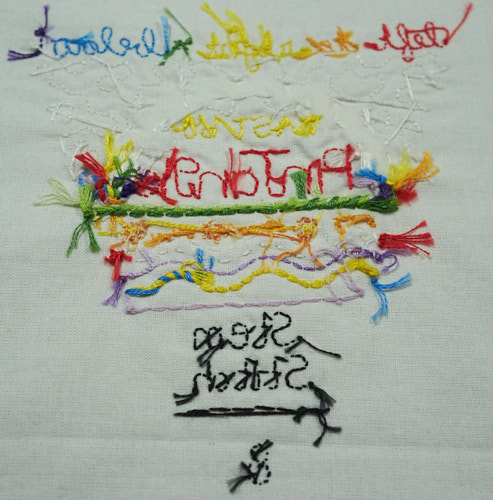
Front and back:
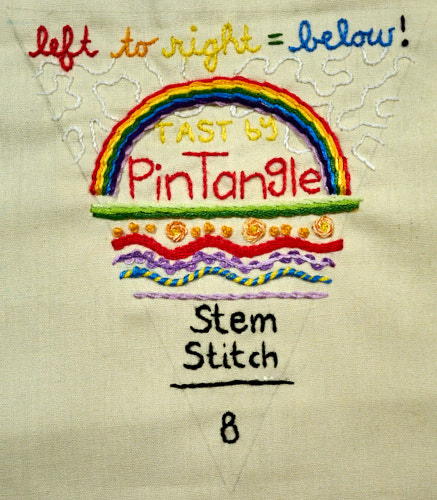
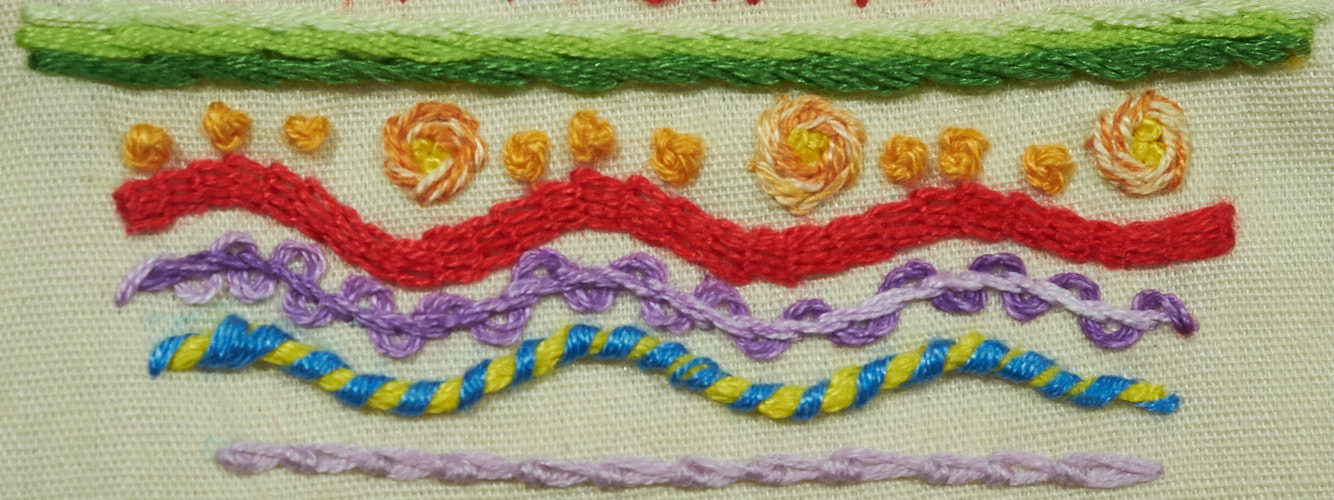
I wrote the phrase “left to right = below!” which will help me remember how to sew the stem stitch (the outline stitch would read “left to right = above!” though some say that they are really the same stitch, just done differently…). I often look it up first or risk moving the working thread above and below and back above, which I realized was part of why mine never look right. I also realize that for me, even though many tutorials suggest you split the difference between where the thread enters and exits the fabric for your next stitch, mine always looks better if I enter just next to where the last thread left. The other main thing I was doing wrong is not changing the length of each stitch – most of the other stitches I know look best if the lengths are the same, so I was following that rule. Well, that is a huge fail for curves! Shortening the stitches around bends is exactly what needs to be done. I have so much improvement in the skill – now I just need to remember to be patient when I sew it around curves, as they take much much longer than straight lines!

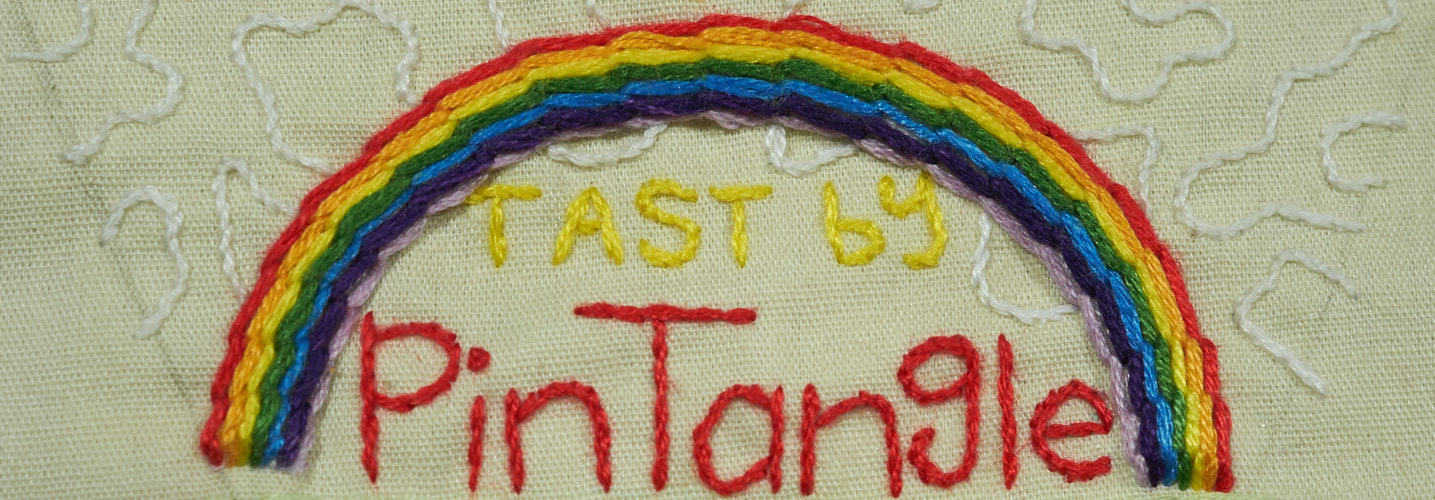
The moment I saw a padded raised stem stitch, I just had to make a rainbow. I don’t know where that inspiration came from, but it was definitely happening! I don’t necessarily like rainbows, or basic primary/secondary colors, but wow! I love the effect here.
Then I pondered on how to fill the space and I knew I wanted to honor Sharon, since she is the brains behind this project and this would be a perfect place. Originally the phrase was going to say “coordinated by” or “courtesy of” or something but I worried I wouldn’t get the words to fit and look nice. I settled on “TAST by” and I hope it doesn’t come off like she is the one who sewed it up (because, hello, hers would be so much more magnificent!!). The white doodles are just squiggles to practice curves, but I chose white to simulate clouds.
The first line are three greens, shading from light to dark. Then, fortuitously, Mary recently posted a new (for me) version of stem stitch during the week so the timing was great! I added some orange stem stitch roses. The red squiggle is a raised stem stitch (similar to the rainbow but not padded). The purple line (standing in for indigo) is laced. The yellow line is whipped in blue. And the violet line is the Portugese knotted stem stitch – pretty easy and now one of my favorites!
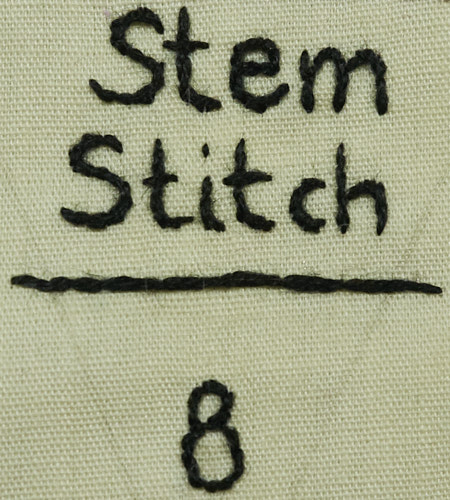
And of course, the title. I only have one skein of black and I am pretty frustrated with it. It is DMC, but must be really really old because its so fuzzy and is cranky to stitch with. But, with no pennies for the craft budget, I am grateful I have anything at all to stitch with! I did buy some wax to try, so perhaps that will help. Hmm, note to self….



Your design is wonderful, and your stitches are very nice! Thank you for your explanations about “splitting the difference” vs. “next to where last stitch left.” I was confused. If you want to make sure nobody would confuse your piece with Sharon’s you could add your initials in the lower corner. Have fun on your stitch journey!
Jane, that is a great idea. When I pull it out to complete the banner, I just might do that! I’m glad I could clarify something for you – I was shocked how much I learned about such a “basic” stitch by really studying it!