Oh boy, oh boy, oh boy! I got so much done on my Craftsy stumpwork! I hadn’t really worked on it since November because – and I had forgotten – this project made me feel my age (and I still don’t think I’m all that old yet!). All of the background (posted again below as an easy reminder) had been prepared and it was time to start the wired slips. Since I had already done a poppy petal on the background, I was excited to try this new method first on the bee wings.
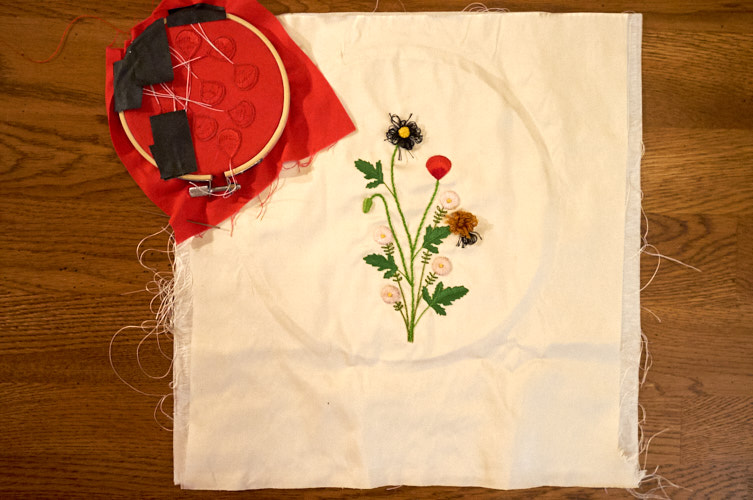
Celeste’s kit includes a silk thread that must be as fine as spider’s silk, I swear. I was in awe at how fine the thread was, seriously. A sharp #12 needle, if that helps you imagine. It wouldn’t help me, because I still can’t identify needles beyond pointy and dull, big eye or teensy eye. Shrug.
My awe turned to shock as I attempted to sew with it. To make a wire slip, you use last week’s TAST stitch: a common buttonhole (blanket) stitch. And, because I would be sewing on gauzy organza, it was important to keep the stitches spaced out so that the bulky (ha!) thread wouldn’t separate the warp and weft of the fabric. And yet, the stitches had to sit exactly next to each other to cover up the wire. What a challenge!
Three carefully placed stitches were as thick as a single DMC strand. Does that help you put this into perspective? So, after three stitches, which I could barely see comfortably, I put it down and woefully complained to everyone about my eyeballs.
Suggestions were made. I bought a pair of “cheater” reading glasses, and I hated them. I borrowed a goofy welder’s helmet thing with magnifier lenses, and I hated it. I tried a room with different lighting, and still, it was not helping. At a regular check up for an eye doctor, I explained my case – they had nothing to offer me because other than my astigmatism that makes me use glasses for far away (I can get away without using them to drive, if that tells you anything), my eyes were just dandy (sidenote: yay!).
I went online; I ordered a magnifying glass, it worked but was clunky to use because the arm is short and it is quite heavy for my hoop stand … so I gave up for a while on the wing and started the petals. Then my OCD organization event happened, then the holidays, and then everything crafty got postponed.
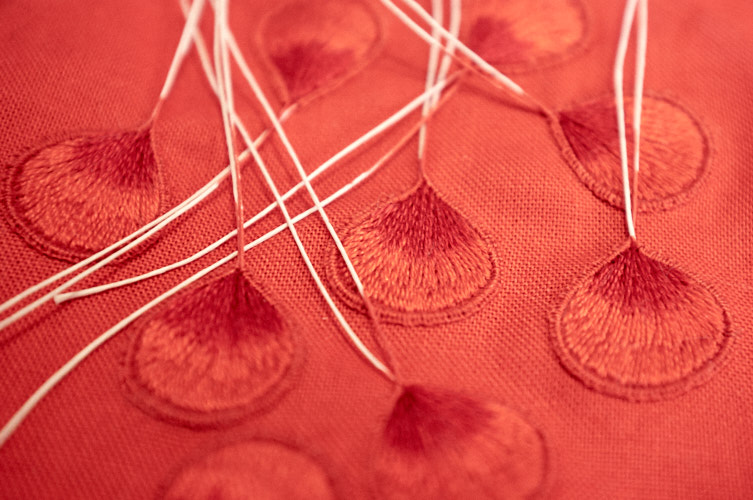
Thus, when I rebooted this last week, I started simply by finishing the petals. Yet in the back of my mind there was concern about the wings the entire time. However, the petals went quick, so I was fueled by that high and decided to give the wings a go.
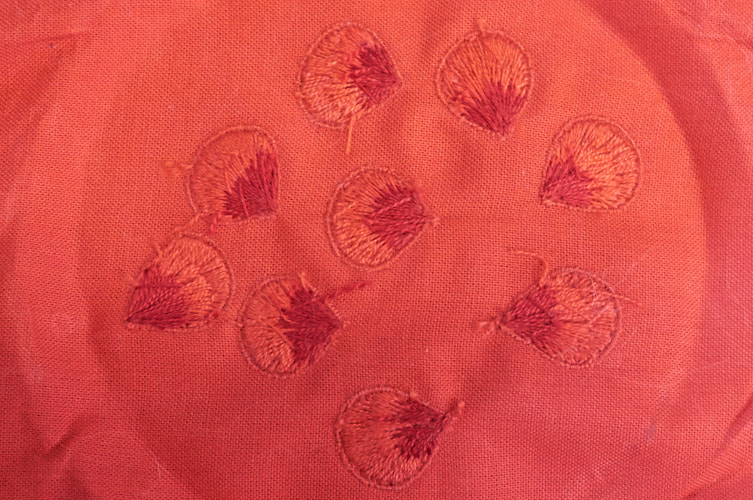
Rather than hooking the magnifier to my hoop stand, I arranged it on a little side table and opted to just hold the hoop in my hand so I could position it easily with the lens. Since I could use a little 4″ hoop, it worked out just swell. Shoulda thought of that sooner! It wasn’t the most comfortable sewing, and they aren’t perfect, but a few nights of stitching later, it was time to cut them all out.
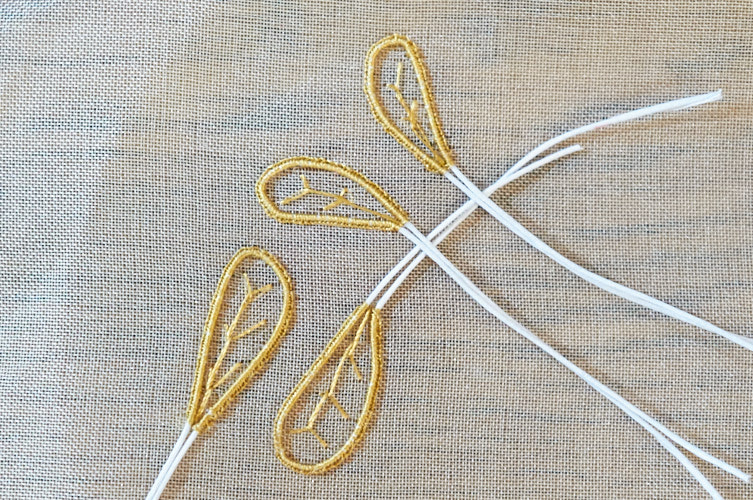
I dreaded this part – oh, it made me so nervous! Boy bought me a small pair of curved embroidery scissors to help – the idea being that I wouldn’t accidentally clip something ahead of where I was looking. That worked out great, actually! The petals snipped out so easily – just as easy as Celeste made them look! I was amazed!
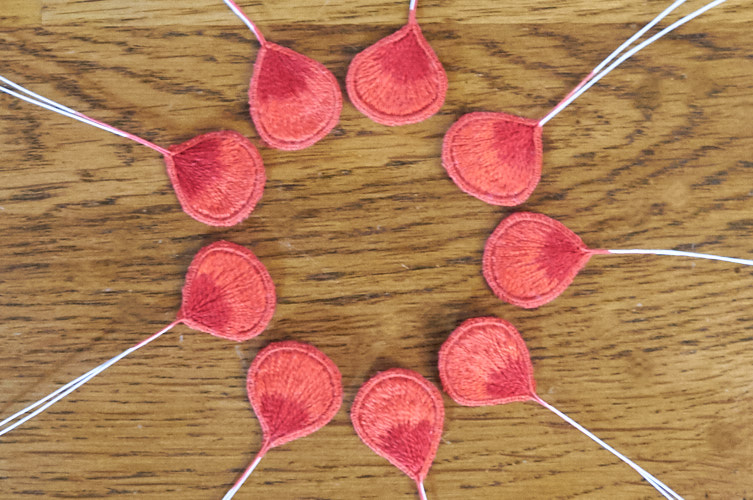
But, again, the wings. They were so tiny, so delicate. And so tedious (in what I find to be a pleasant way). I loathed the idea I might cut them. But, again, super duper easy!
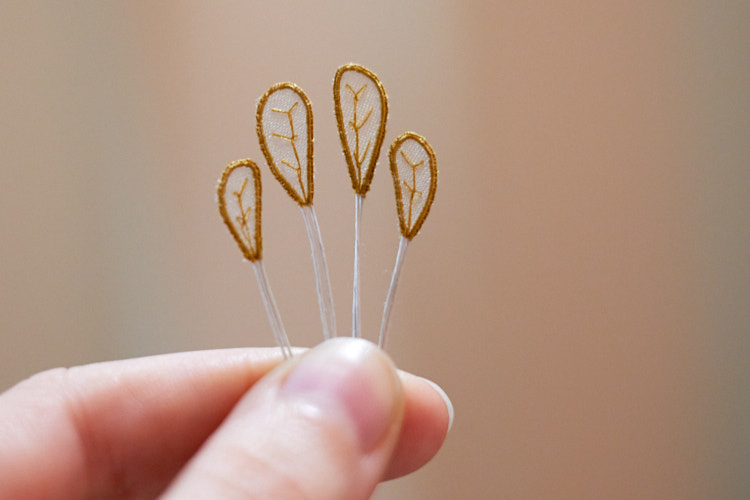
To finish this project, there are still a few steps. First, I need to cut and fluff my Turkey Work stitches. Second, I need to add the legs for the bee. Third, I need to insert the petals and wings (another anxiety-inducing moment awaiting me!). And last, my plan is to somehow mount this on a small canvas. Should be soon, guys!
In other news, this week is the TAST Fly Stitch. At first, after a only a very brief look in my books and quickly online, I thought there must not be a lot you can do with a fly stitch. And then, with continued searching, I discovered so many things! While it is true that I didn’t find many ideas for a motif, I did come across a totally rad one. I love what Rosalie did! So meta! Most of what I found is actually for borders, which is great, too. Sometimes, you just need a border. So anyways, I scribbled down all my thoughts and decided somehow, I’d make a motif of a bee hive. Don’t ask me why. You can see in my doodles that I haven’t actually figured out how to make a beehive with fly stitches…
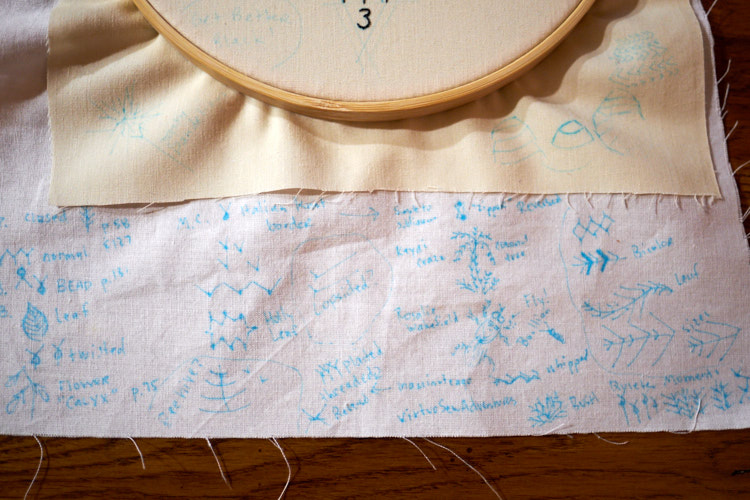
And, with what I have accomplished, or, more noticeably, what I do not have accomplished, you can see that after playing with the stitch a bit, I still haven’t quite figured the bee hive out. Yet. I have some pretty solid ideas, just need the time to get them worked out!
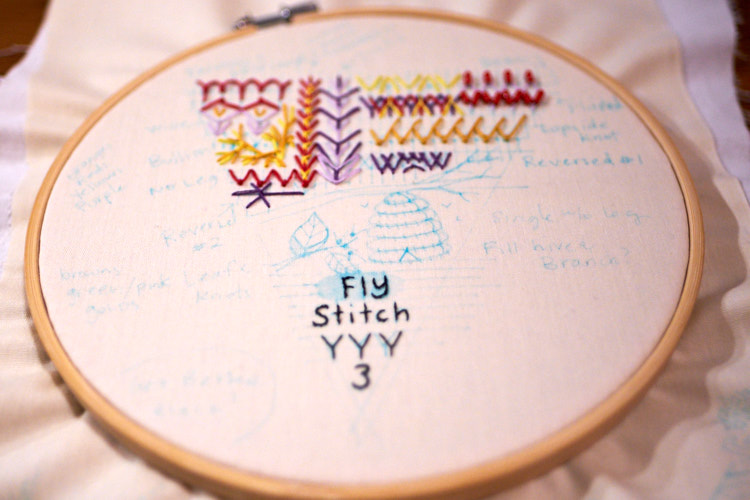
Again, studying a stitch is something I never would have done. And the process is amazing! I really even enjoy just sketching ideas. Hmmm, maybe I should keep a notebook, too?




0 Comments