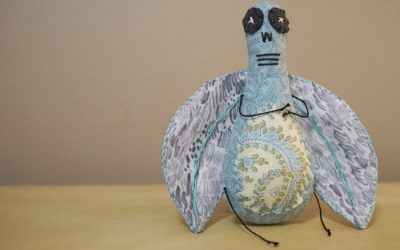
One of the things I am trying is wrapping my hoops. I first learned of this from a Craftsy class for Celeste Chalasani’s Stumpwork: Raised Embroidery Essentials (no, I have not started this project yet; I need more time to feel ready for it!). I know that several people I follow with feedly tout its importance, but I hadn’t really ever had issue. Of course, I hadn’t really ever sewn much either. Before I start Celeste’s class, I decided I really needed a wrapped hoop since I would be using a fabric I am unfamiliar with (I’ve only done cotton and linen to date). If a professional who is teaching me is telling me that I need something, by golly, I am going to listen and consider it seriously (why was that concept so hard for my university students? They wouldn’t even buy the book!). That’s also why one of the first things I did was buy what I named Johnny 5 – I doubt you will see the resemblance, but I am quite fond of the critter:
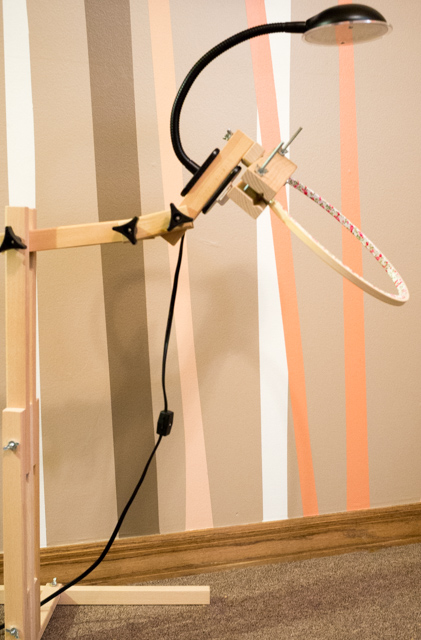
It is a Frank A. Edmunds & Co’s universal craft stand that I found at a local craft shop with a super-duper coupon. It isn’t something I researched specifically before I bought it, but it was something I desperately wanted to try. So, when it was just 20 bucks, I said absolutely yes please! And I. Love. It. It might not be the greatest, and it might not last long, but it is awesome nonetheless. I should have bought one years ago. I was worried I would have to sit all proper like – nope! I can work it so that I am perfectly slouched as the usual, even sometimes with my leg crossed over it or while I am half laying on my side! Ha! (I know what you are thinking, but I can still maintain really good embroidery form, trust me;) I was worried it wouldn’t stand still – nope! It is pretty good and tight. I was worried my threads would catch on all the protruding gadgets – nope! Of course not, they are all at the top (and you can hide the hoop’s screw too). And – bonus – my light clips right to it so it is perfectly where I need it, no matter how I sit!
So anyway, on to the wrapped hoop story. I went in looking for twill tape as suggested by the professionals. I came out with super discount fabric tape from the scrapping section. It may be a bad idea; time will tell if it becomes unsticky or moves around or whatnot, but at the cheap price of both the tape and the bamboo hoops I have (since I haven’t yet committed to nice ones), I thought it would be worth a shot. So rather than my hoops being boring white, they are going to be covered in lovely designs!
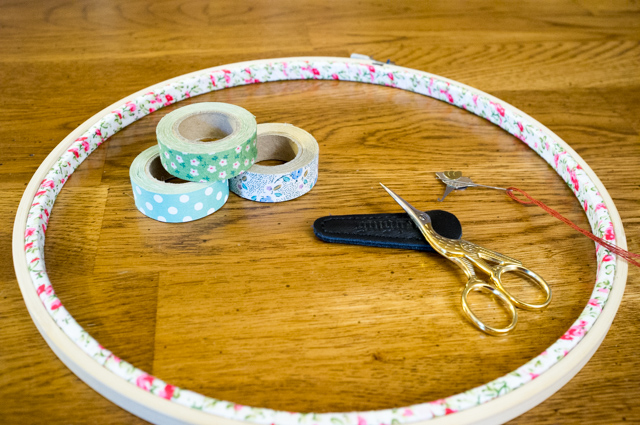
No, you wouldn’t really ever see the lovely design unless you aren’t using them, and if you aren’t using them, you probably have them stashed away out of sight somewhere, that’s true. But I like the idea anyway – it’s a zakka life for me! The point of wrapping them is to keep your fabric tight in the frame and rarely I have noticed that my stitching fabric does get a bit loose at times but I just continue to sew on it as is. However, now with learning more complex stitches, it will behoove me to keep a tight set-up. Part of that is the cheap hoops I use that do not have a crevice for a screwdriver so I can only hand-tighten them, but I am wondering how well this wrapping business will correct the issue. They also say I should always remove the hoop after each sewing session, else I could permanently mark the fabric. This has not once been a problem for me, yet I did try it with the blackwork heart … but then I quit doing it after a few days. Baby steps, people.




0 Comments