The chair I use in my craft room is a standard counter-height office chair. The dark boring blue color, which didn’t match my room from the start. I thought to myself, if I can recover an ironing board, maybe I can recover my chair. I had no idea what I was doing, but I took the same principles to make slip covers for the chair. That did NOT work. Then I asked myself, why don’t I take this opportunity to finally learn how to staple fabric to stuff?
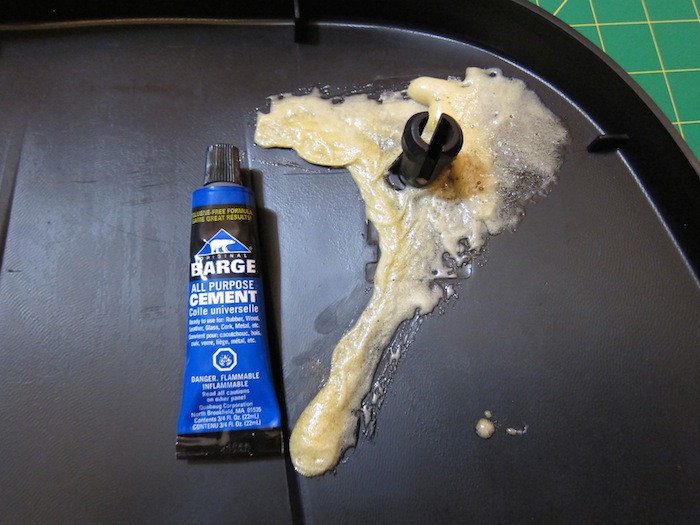
First things first – I had to separate the two cushions from the chair itself, then separate the plastic backing from the back cushion. I employed Boy to do that for me, and there was a bit of a snafu when one of the attachment points cracked a little. We glued it with all-purpose cement, and about 8 months later, it is holding up as far as I know. If you decide to do this, just be more gentle when prying things apart than we were.
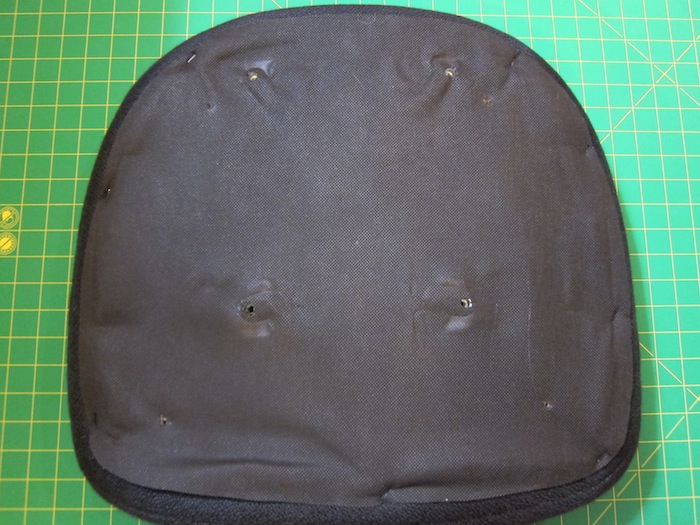
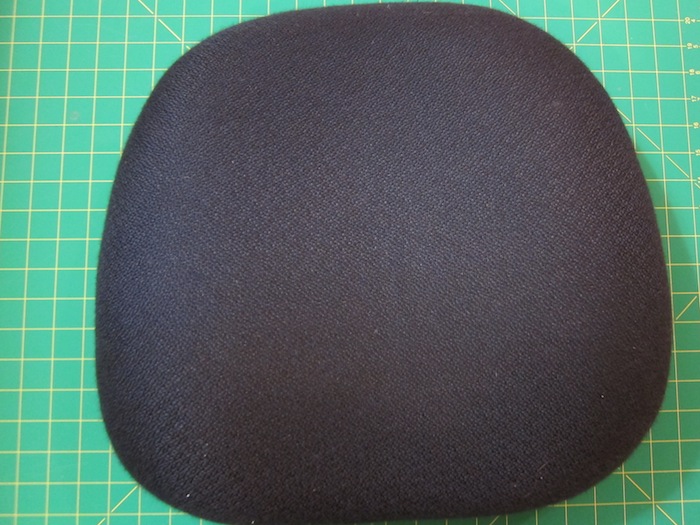
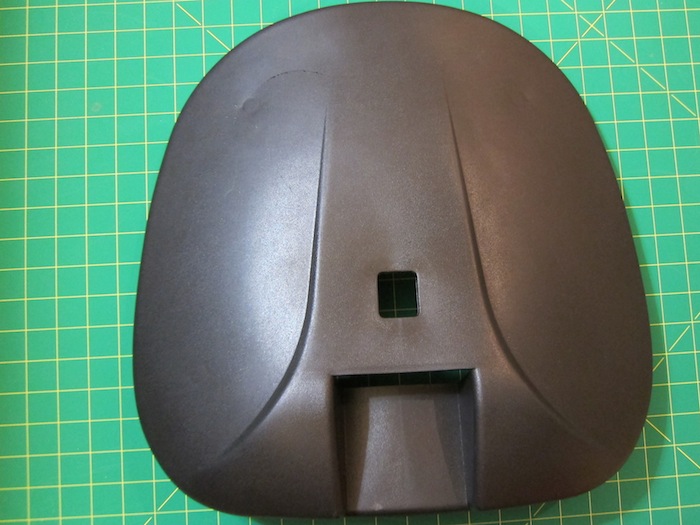
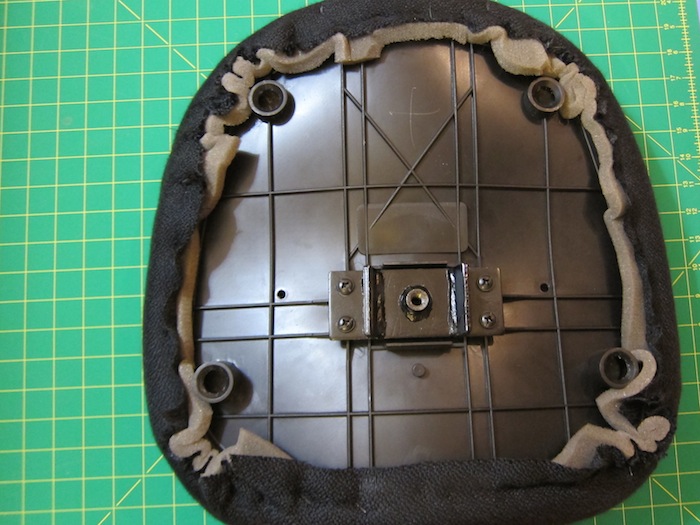
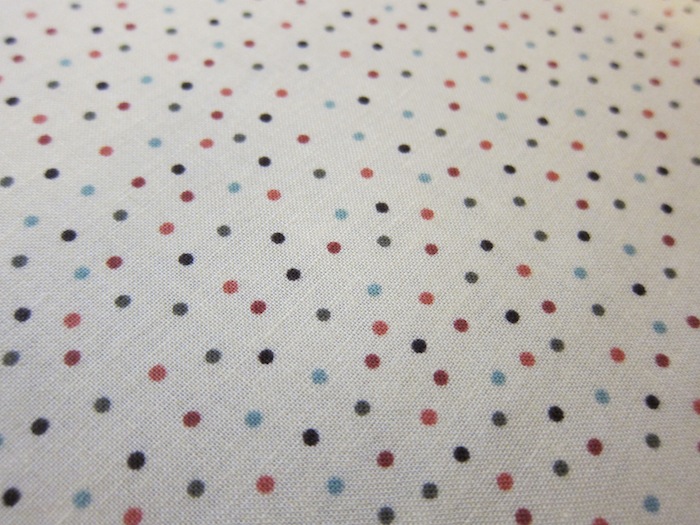
I had a large enough portion of this fabric to use, but it was thin so I had to line it since the original cover was so dark. I just used fusible lining, ironed them together, and then went about my business.
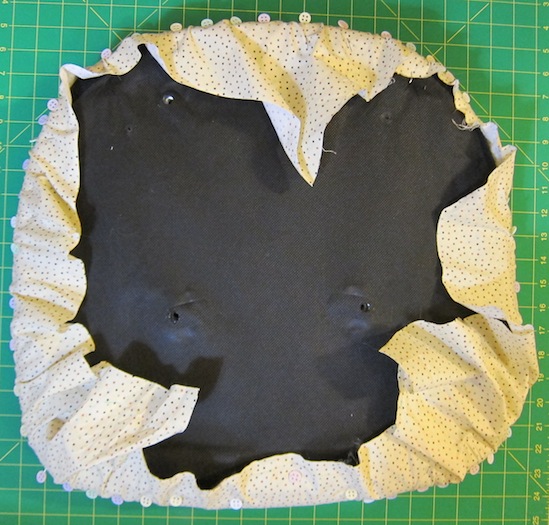
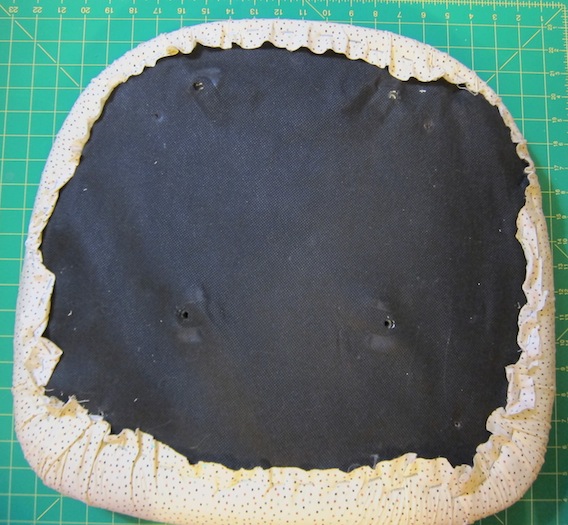
Then, I laid the fabric out, put the cushion on top, folded it over, and used a zillion pins to tug the fabric all around until the front and edges looked great. It was the longest part of this whole process, and I stabbed myself several times.
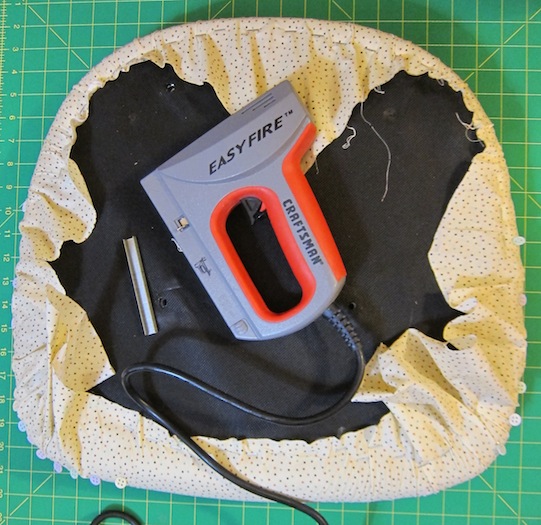
Then, I used my easy-fire staple gun, bang! bang! bang! all around the edges (sometimes the thick plastic prevented the staple from securing itself, but mostly I did not have any trouble). A quick snip, snip, snip around the extra bits of fabric, and it was ready to put back together.
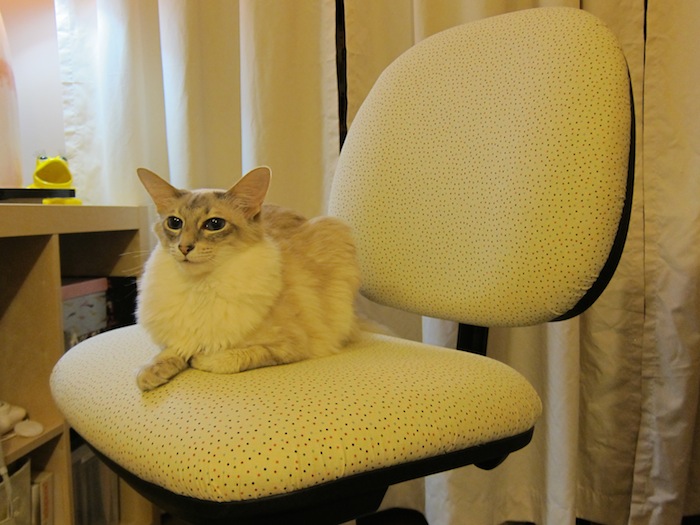
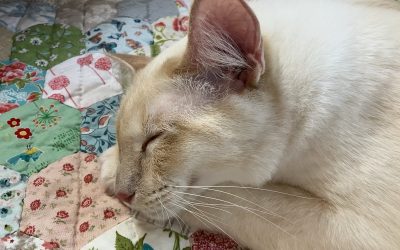
It really enhanced the room – instead of the eye being drawn to a fugly dark blue chair in a happy light room, it matches wonderfully. Plus, changing it to a cotton is more cat-hair friendly than the weave that they loved to scratch at every now and then…





0 Comments