I believe in the last post i had mentioned i would be more technical here but…i dunno, im on some sort of spree so i just couldnt stop myself to take “during” photos. Check it!
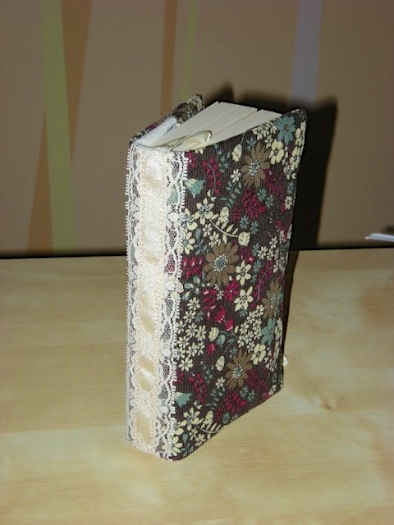
I finally made a template and got the measurements exact. The best part is there are just TWO seams! Neither of which can be seen once the cover is reversed. (This does not include sewing the embellishments on.) Its so simple too. I cant wait to share it with everyone, but I want to make a few more with the template first before i try to explain anything.
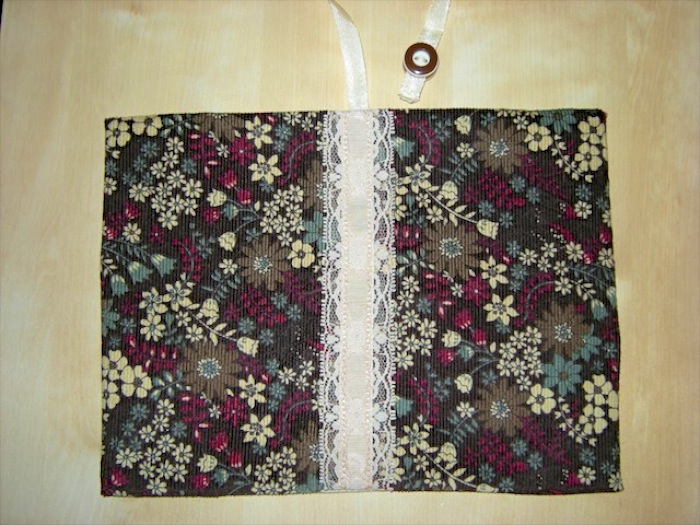
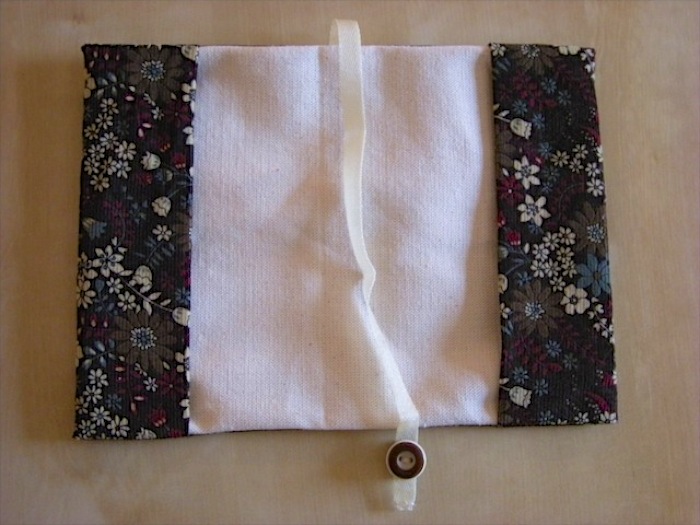
Plus, if i do anything akin to a tutorial, I need a better light source. And Id like to know where my iron is so you dont have to sort out the wrinkly fabric (gosh, wouldnt that save me some trouble when trying to cut and sew straight!)…If you want to start gathering supplies, aside from the obvious fabric and thread, I use fabri-tac, ribbon for the bookmarker, and a little trinket to tie it off – buttons, beads, pendants, whatever suits you. This cover also sports a ribbon down the spine, and you might have seen my other ideas of piping and whatnot here and here.








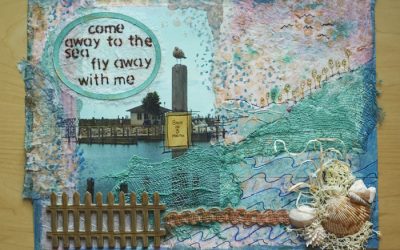


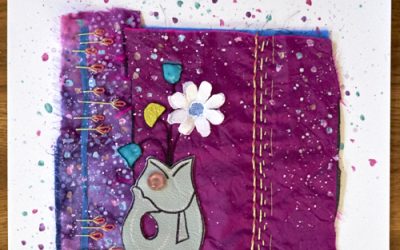
You need to do bookcover laptop cases that close with a zipper.