baby on the way

Thursday, January 15, 2009

So I’ll be getting a pseudo-niece, as I like to call her (I’m not married into the family quite yet). I know I want to make her a killer blanket, and I’ve been tossing around the ideas of themes and possibilities and I think it will be a floor blanket, with detachable toys. She doesn’t have to use it but I think ill have a lot of fun making it, and as a family tradition of sorts, new babies always get blankets, so I thought I would continue that.

That’s not what this post is about though.

This post is about a small simple project I made for the shower. Since I’m helping with the necessities of that, I didn’t really want to buy anything but I did want to get something cool. This seemed like a good compromise.
baby_scrapbook_album15

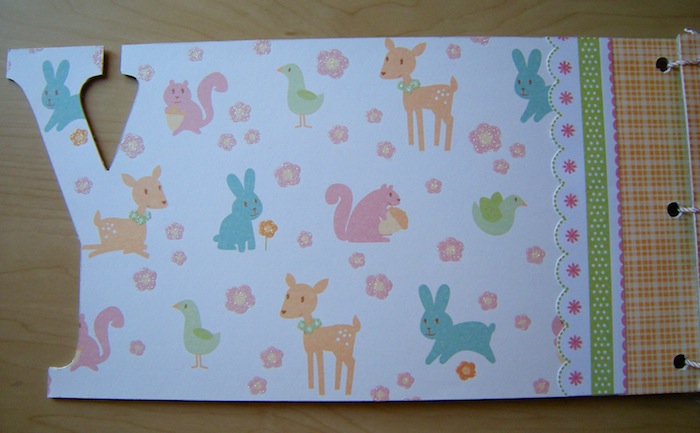
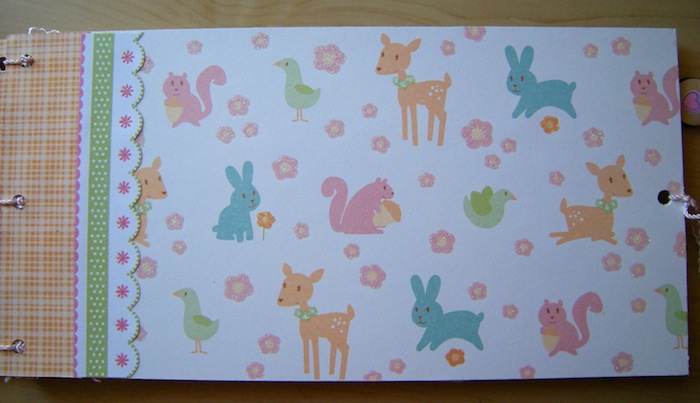
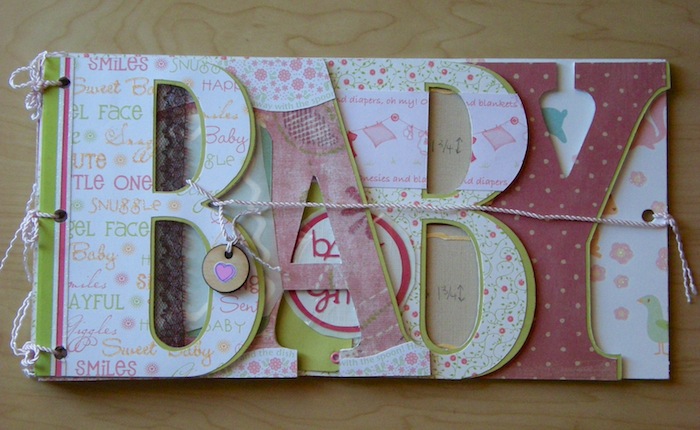
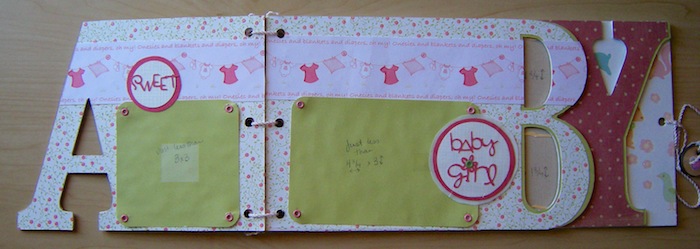
It’s a Bo Bunny My Word Chipboard Album, reading “BABY”. I used mostly paper from Nana’s Nursery Paper Stack Baby Girl, by Die Cuts With A View.
baby_scrapbook_album1

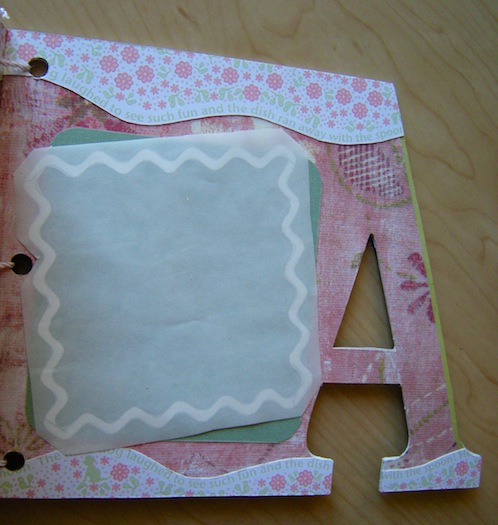
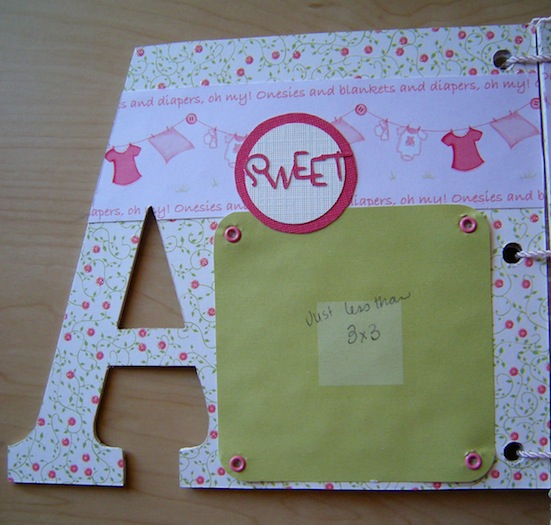
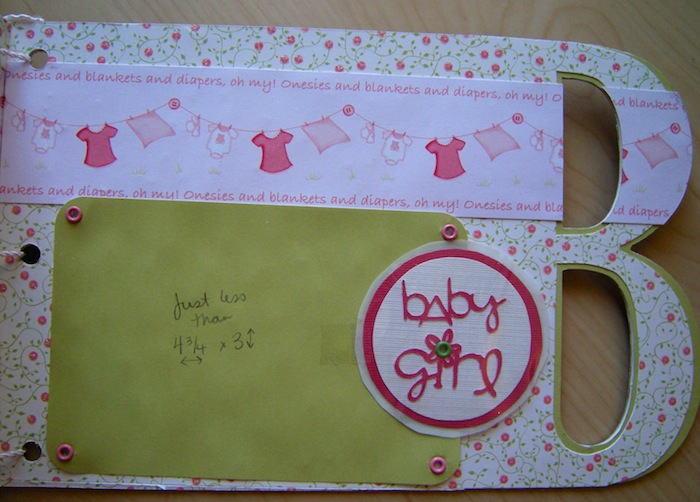
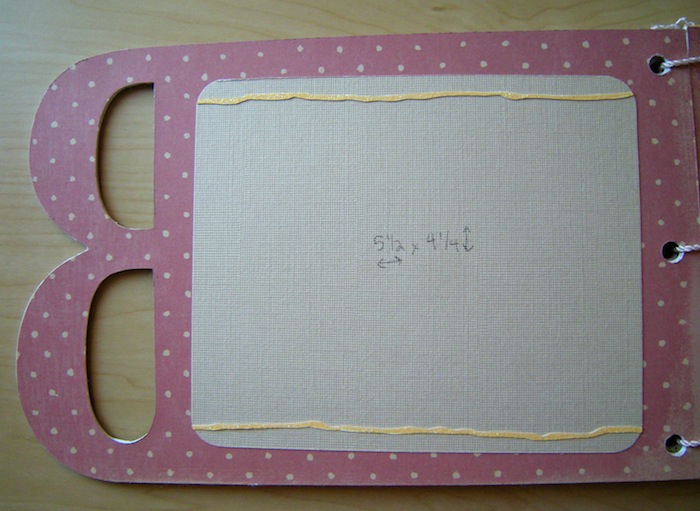
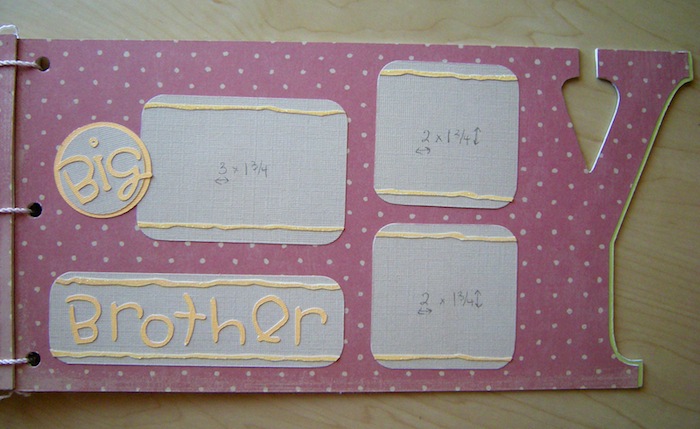
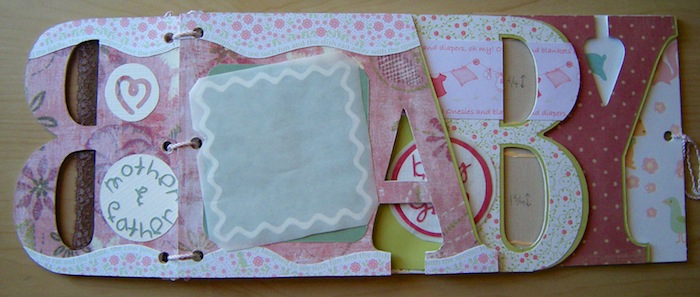
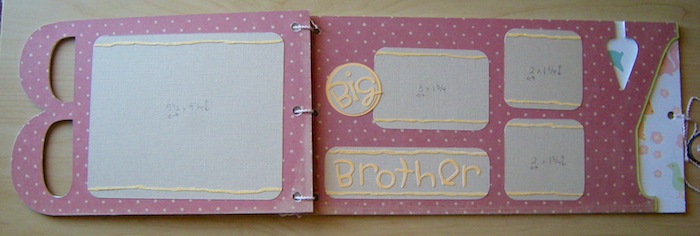
The goal was to create a photo album for the Mum-to-be. So I made some places to attach photos, with the measurements written in so she would be able to cut to size. There are two things I did not adhere to the book because they will sit on top of the photos she places in it, so they are still in a protective coating (the white rick-rack looking square, and the “baby girl” circle).
baby_scrapbook_album4

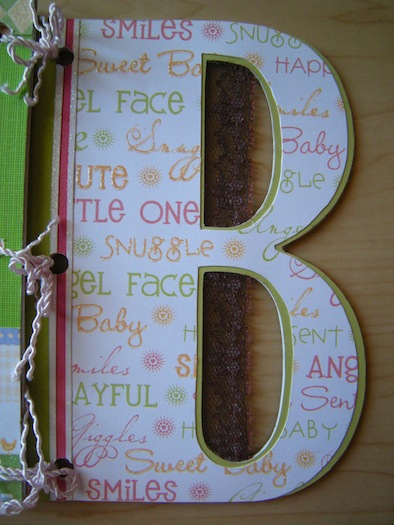
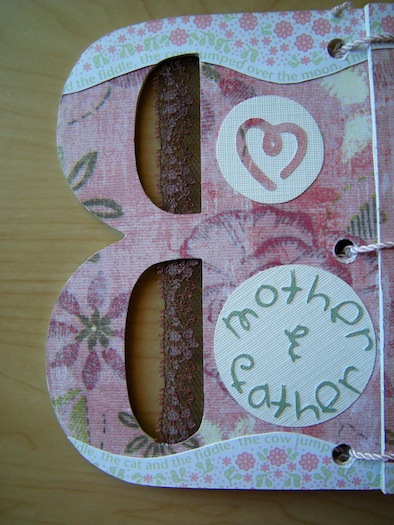
I painted the edge of the chipboard white, so that it wouldn’t look as cheap. I cut the paper by laying the chipboard on it and using an exacto knife to cut around it. Then I added layers to it of other paper to punch the background up a bit. After all the paper was cut, I ran the pieces through the Xyron machines with the permanent adhesive paper and carefully lined them up and stuck them together. I used my Cricut Expression, with a borrowed cartridge of All Mixed Up to cut out some words. (Having a network of fellow Cricut owners saves tons of cash!!) I have a corner rounder I used on the photo mats, as well as some simple grommets. I had some old seam binding that I used in lieu of lace in the letter B. I had some tiny pink rope I used to attach all the letters together, and make a tie to keep the book closed. There is a little wooden tag on the end to loop through, rather than tying the rope.
baby_scrapbook_album3

Had I thought of doing this site prior to the project, I would have had photos of the stages in between. I’ll try to do that on future projects.

baby_scrapbook_album2

All in all, I liked this project a lot. The only thing I would do differently with this one is to run the chipboard itself through the Xyron machine, and then stick the paper to it, and then cut it out. It was a little difficult to match up the already cut letters to the chipboard once they were covered in adhesive. Live and learn :/
baby_scrapbook_album14 baby_scrapbook_album13 baby_scrapbook_album12 baby_scrapbook_album11 baby_scrapbook_album10 baby_scrapbook_album9 baby_scrapbook_album8 baby_scrapbook_album7 baby_scrapbook_album6

baby_scrapbook_album5


See more posts related to:

1 Comment

  1. Ceece

    I love that Album! So clever and different from the regular flat front albums.

    Reply

Submit a Comment

Your email address will not be published. Required fields are marked *

Looking for more cases of the Crafties?
A domestic scene

A domestic scene

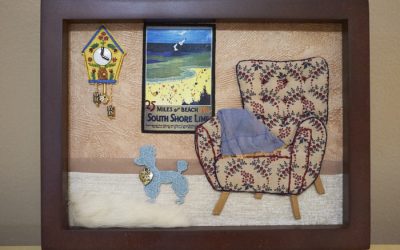
With fabric and thread and a few other supplies, I created a small domestic scene that, for me, represents my MIL.

read more
TAST for Hexie Dreams

TAST for Hexie Dreams

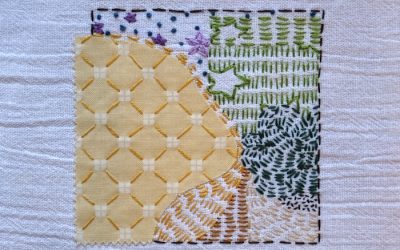
A quick note to share Pintangle’s TAST project, and how I’ll be using it on my Hexie Dreams quilt.

read more
Eva Brent’s Cat Eye

Eva Brent’s Cat Eye

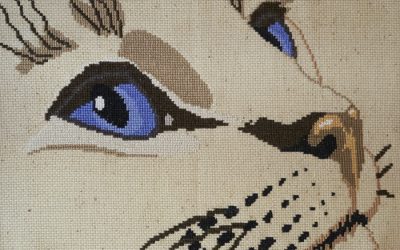
I finished an old cross stitch of a cat face as part of my Move It On or Move It Out series (MIOMIO) for 2025.

read more
Update

Update

Just a summary of random things that’s been keeping me from posting.

read more
Stitch Club: Kaur

Stitch Club: Kaur

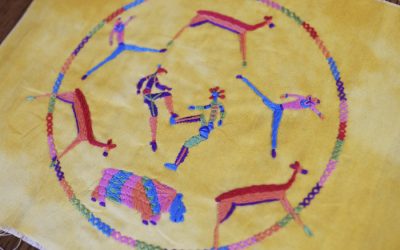
Saima Kaur led a TextileArtist.org’s Stitch Club designed to make us smile by stitching brightly bold and whimsical figures, and I was inspired by ancient South African rock art.

read more
Stitch Club: Edwards

Stitch Club: Edwards

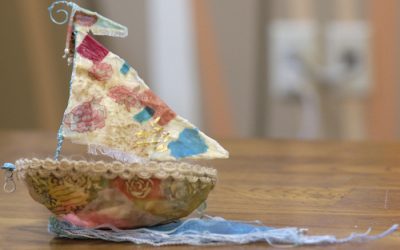
Priscilla Edwards led a TextileArtist.org’s Stitch Club where we learned to make a wire frame and use batik wax to form a sculpture. For whatever reason, I decided I’d make a sailboat!

read more
A new era

A new era

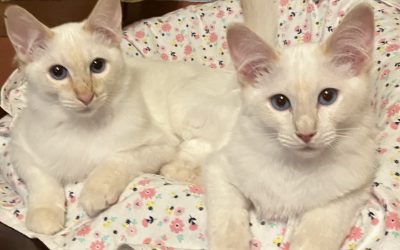
My craft room has two new additions, Toby and Ollie.

read more
Hexie Dreams + Template

Hexie Dreams + Template

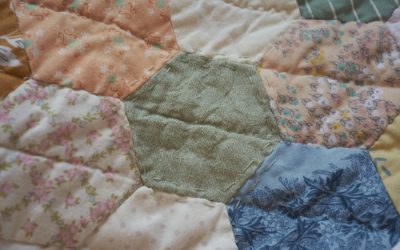
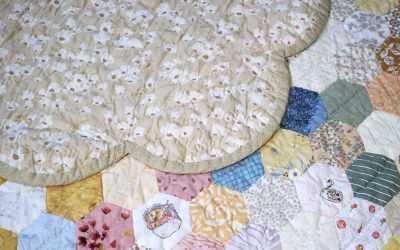
My Hexie Dreams quilt, which was carefully fussy cut and hand pieced by me, then hand quilted by my gramma, is finally finished after three+ years of work (and avoidance). The proof is in the stitching – persistence pays off!

read more
Stitch Club: Dias

Stitch Club: Dias

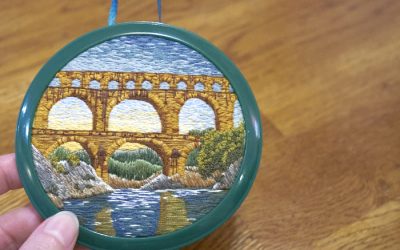
Cassandra Dias lead a TextileArtist.org’s Stitch Club workshop on embroidered landscapes, and I was inspired to recreate a honeymoon photo of France’s Pont Du Gard.

read more
Hello 2024!

Hello 2024!

For the start of 2024, I’ve been playing with drawing, paint, and watercolor pencils to get a feel for the media.

read more
Ida Andersen Lang’s Tutorial

Ida Andersen Lang’s Tutorial

I followed a water color pencil tutorial by Ida Andersen Lang to work through some techniques to set me up for a successful Mixed Media 2024 journey.

read more
Stitch Club: Boschert

Stitch Club: Boschert

Deborah Boschert lead a TextileArtist.org’s Stitch Club on creating a mixed media art quilt. I based mine upon a visit to a new town and restaurant.

read more
Finds and Things

Finds and Things

A random post about some art supplies, vintage finds, and an AI-generated experiment for future crafts.

read more
Stitch Club: Stone 3

Stitch Club: Stone 3

Sue Stone’s third workshop with TextileArtist.org’s Stitch Club prompted us to use text in our piece, so I recorded a trip to Shawnee National Forest.

read more